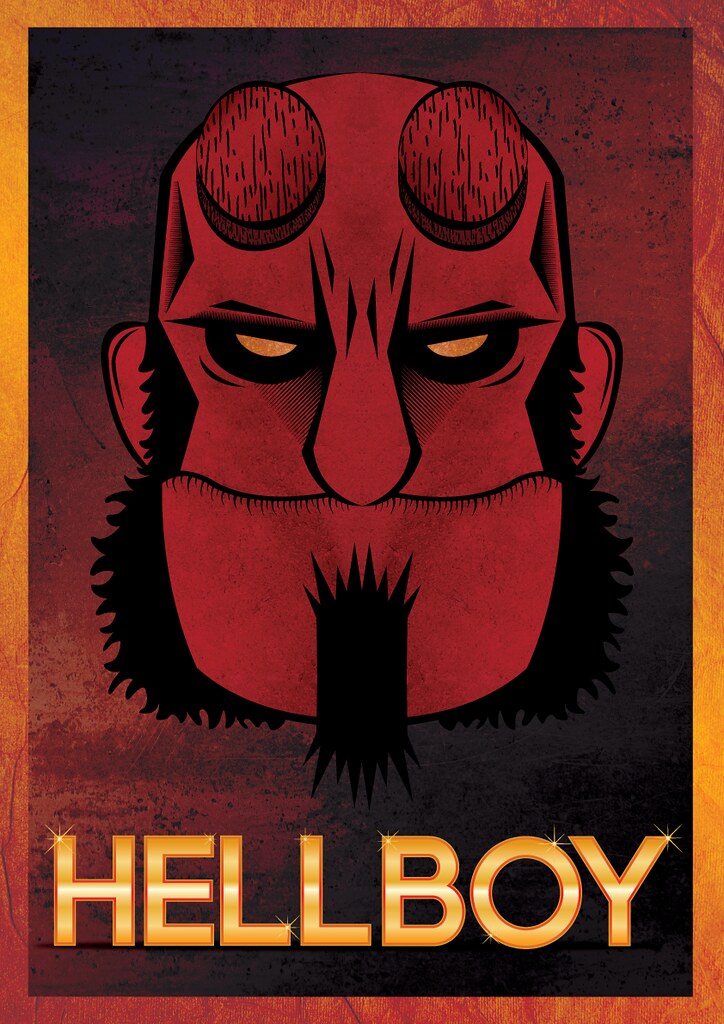
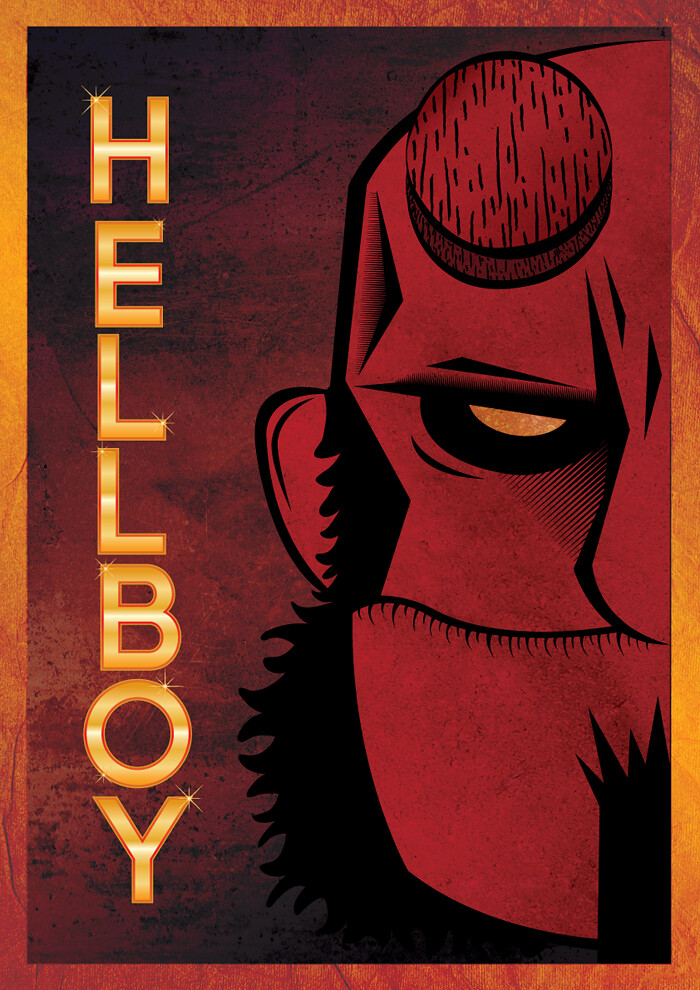
 Lately, we received many requests for more illustration tutorials, so for this week we decided to show you how to make this cool hellboy poster in illustrator.
Before we begin, I must say this is going to be a more advanced tutorial, you won't need to know how to draw, but with you know it will be a lot simplier. The basic requirements is to be good with the pen tool and blending modes, so let's do it buddies.
Step 1
Open adobe illustrator and create a A3 vertical canvas (42 x 29,7 cm or 11,69 x 16,54 inches). Using therectangle tool ( M ) create a rectangle to fill all the canvas and with the gradient tool ( G ) put a golden gradient on it.
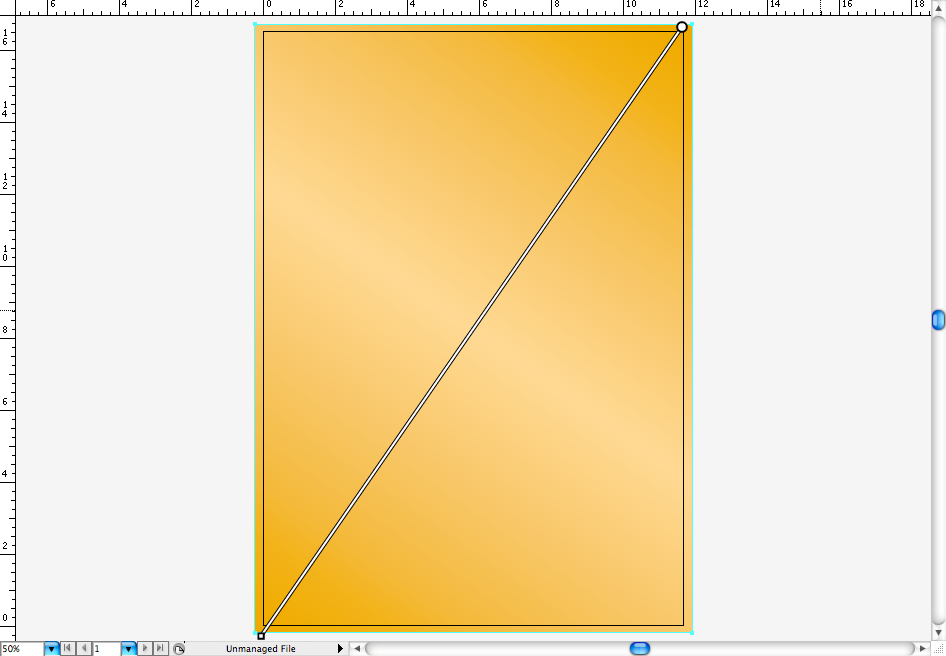
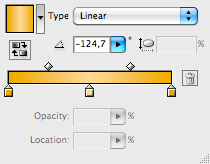
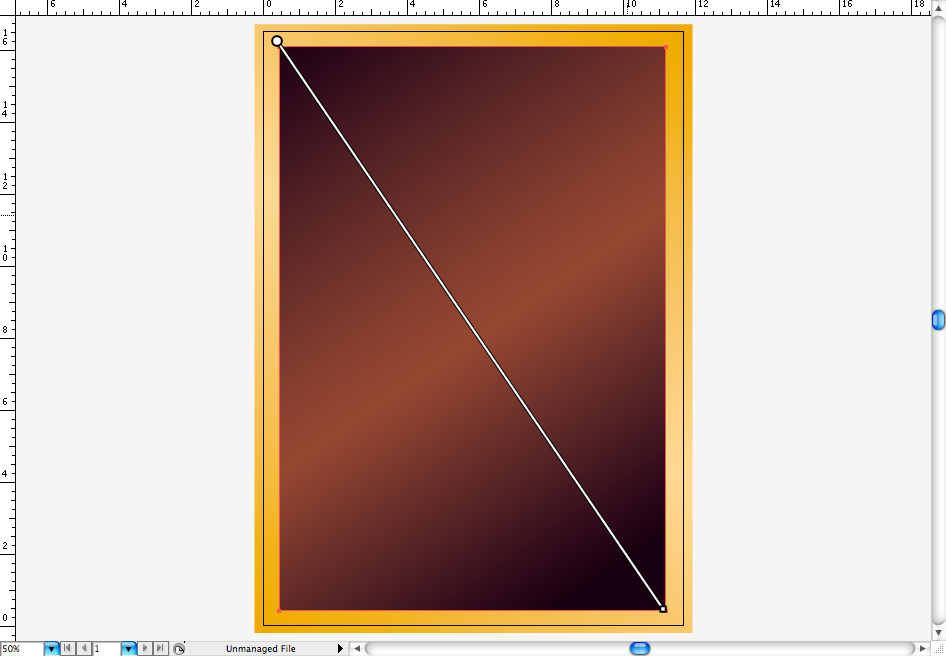
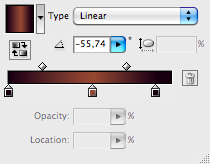
Create a new layer ( ctrl + L / command + L ) and repeat the same procedure, but this time make a rectangle with some distance from the canvas, in order to make the golden border. Using the gradient tool ( G ) create this brown gradient in the opposite direction of the golden.
Step 2
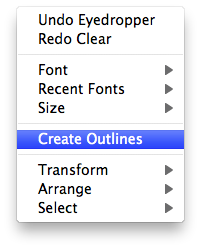
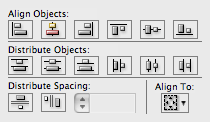
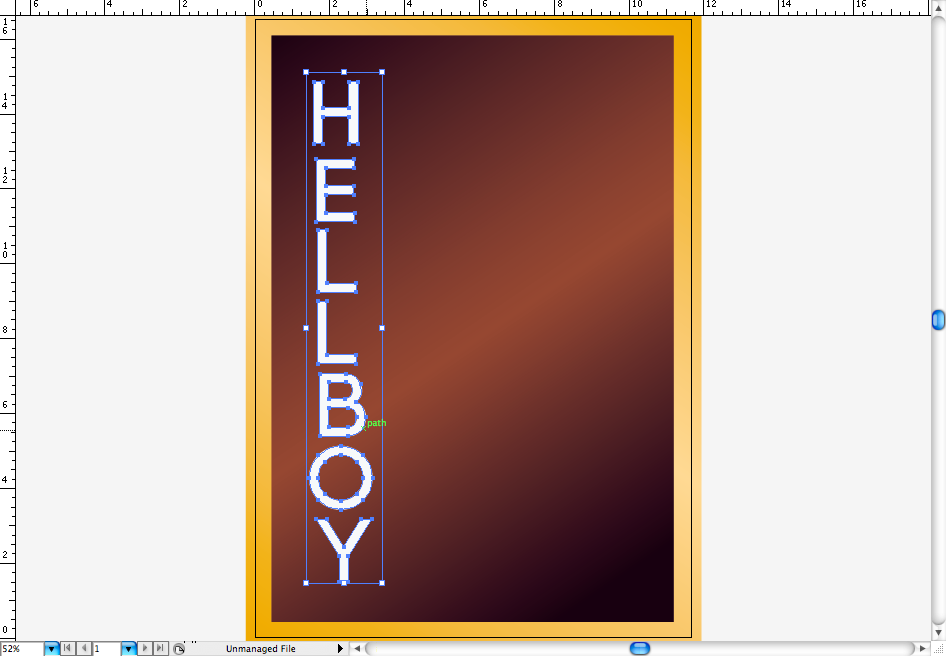
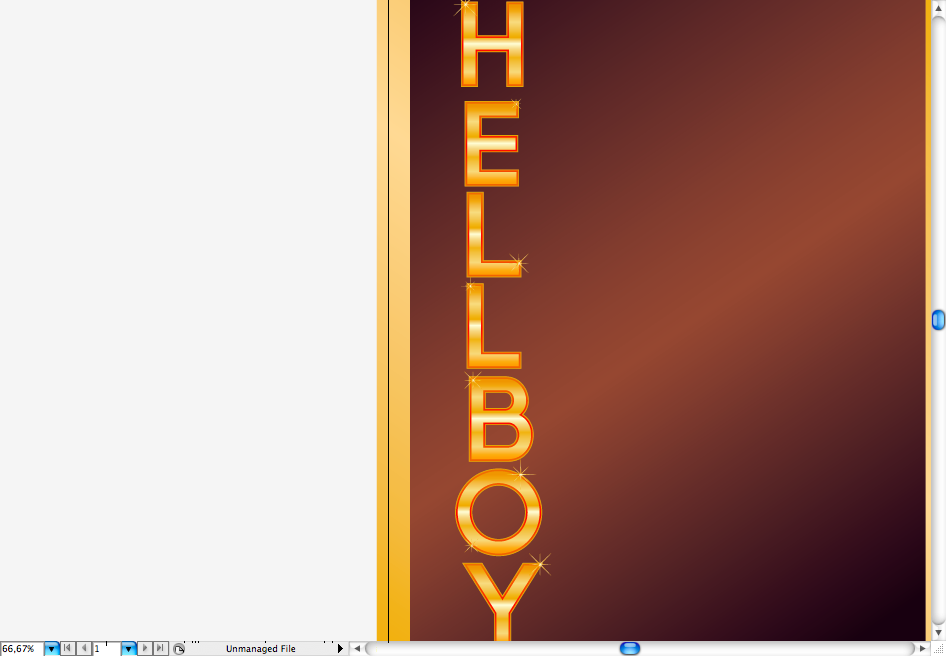
I used the Code font with bold, you can get it at Font Fabric. Create a new layer ( ctrl + L / command + L )for the text, type "hellboy" and create outlines, then align it vertically using the align panel option called horizontal align center.
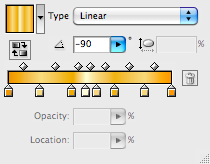
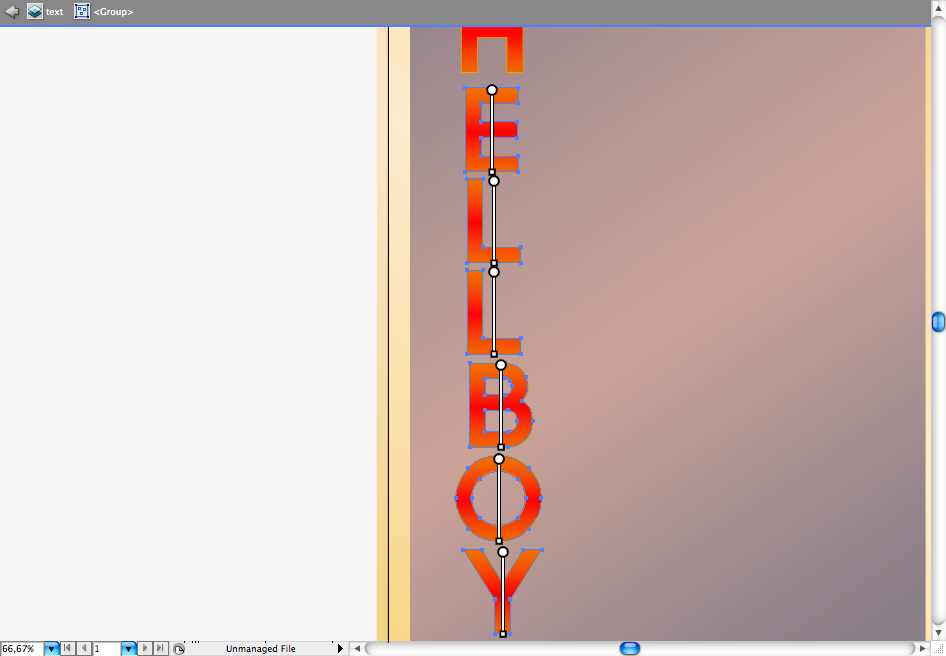
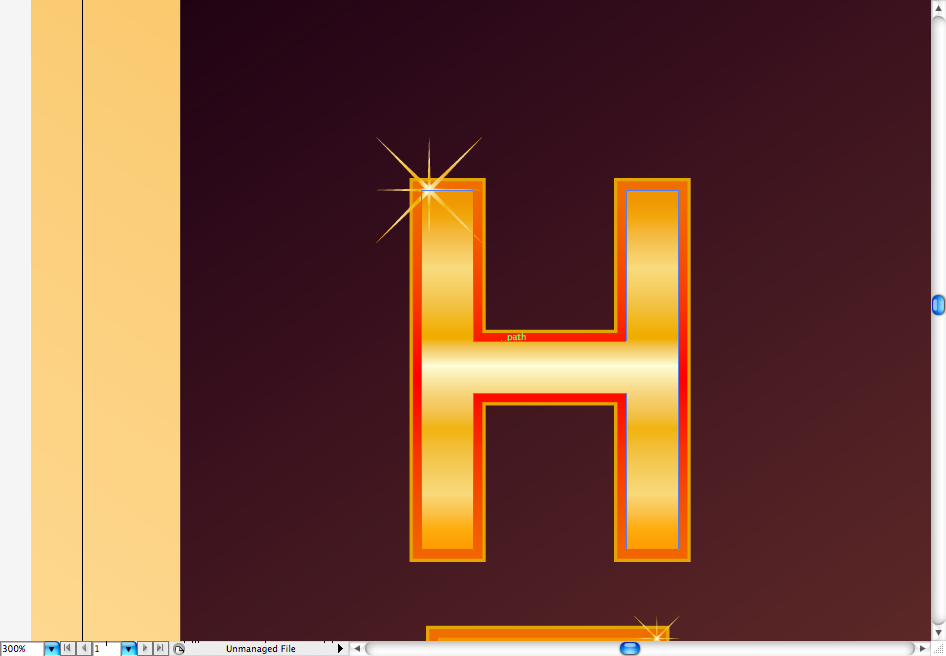
Using the gradient tool ( G ) create this mettalic gold gradient (it should take you some time to adjust correctly) in each letter.
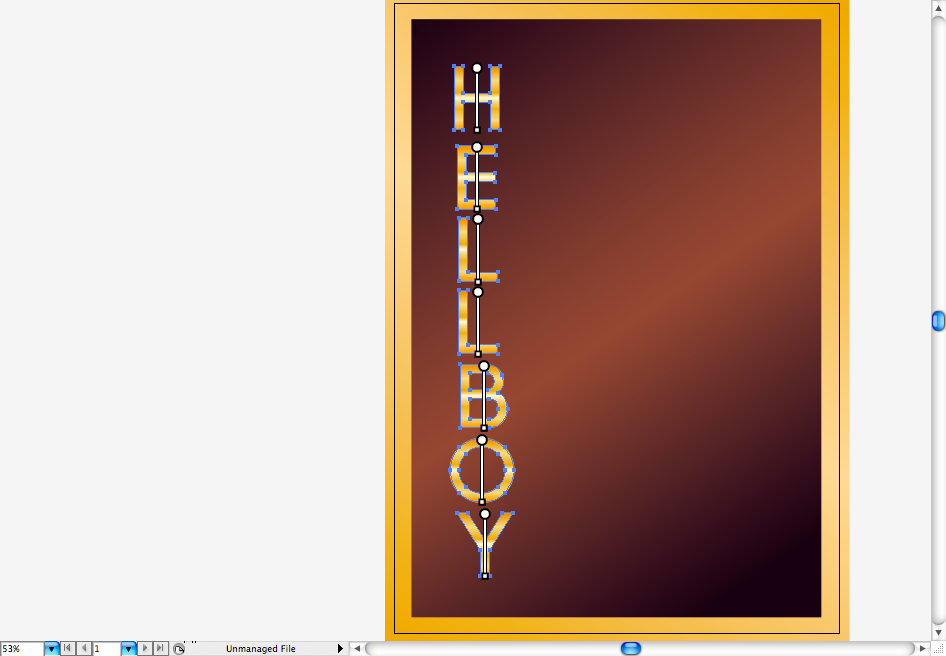
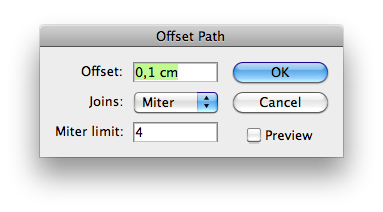
Now go to Object > Path > Offset Path and set Offset to 0,1 cm , miter Joins and 4 limit miter.
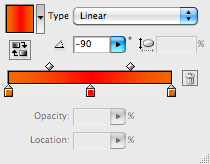
Using the gradient tool ( G ) create this red gradient and add a dark yellow stroke on it, send it to back and you should get this result.
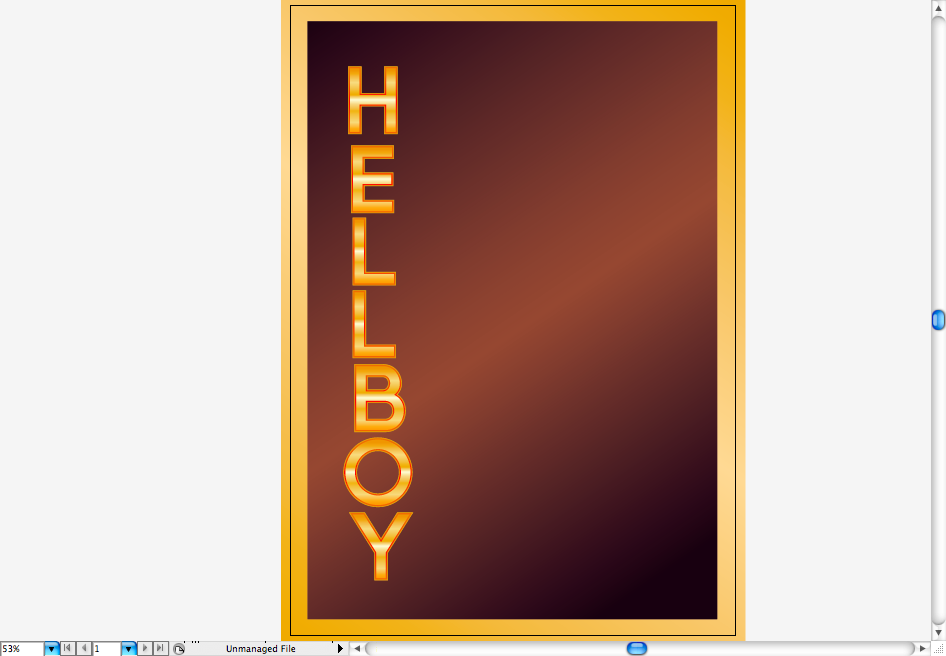
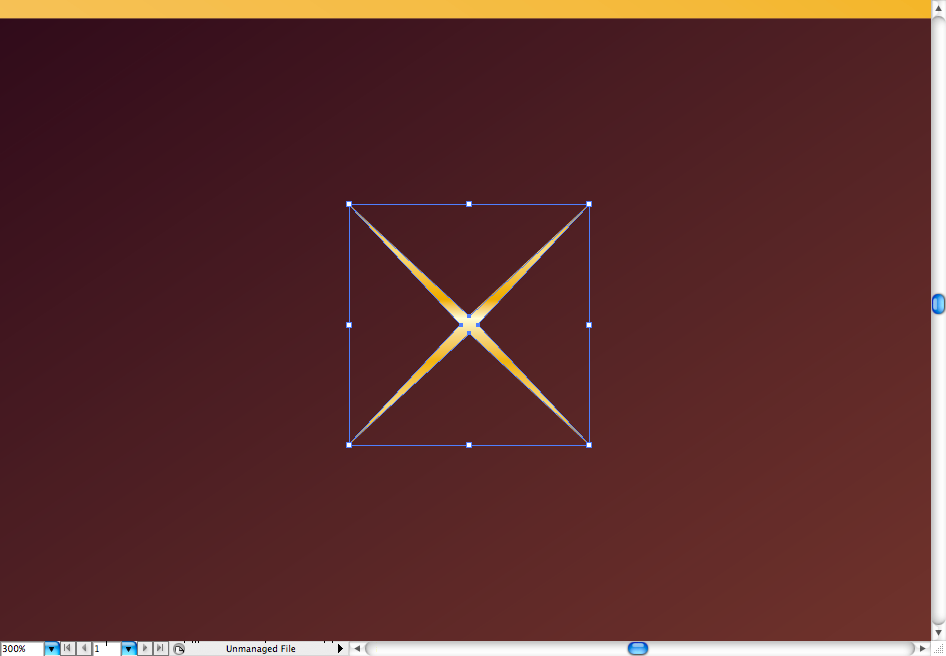
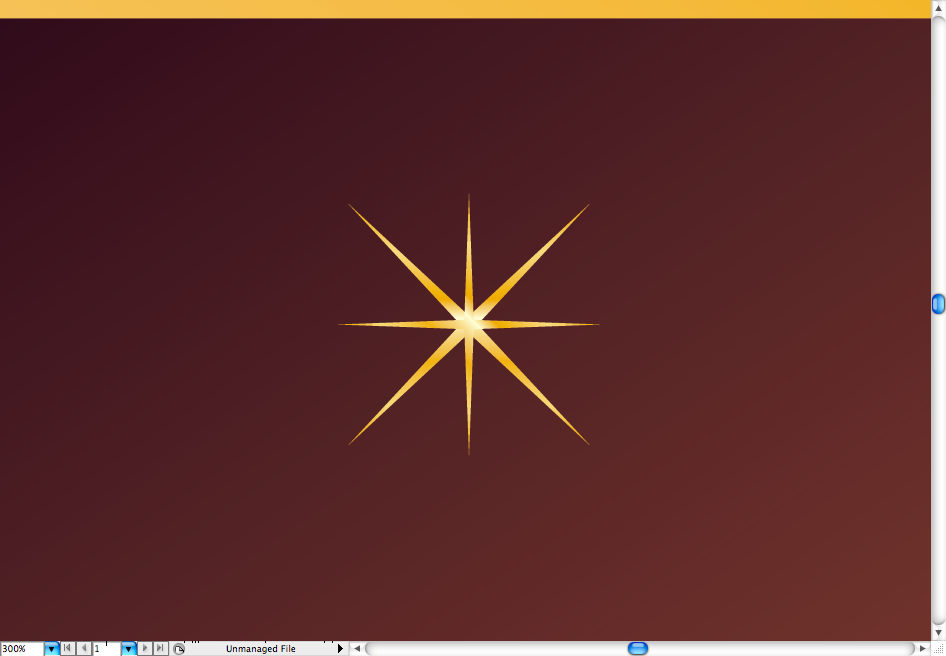
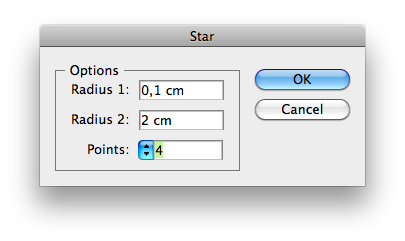
Finally, let's add some fine detail on the type, using the star tool create a slim star with 4 points, radius 1 with 0,1 cm and radius 2 with 2 cm. Duplicate it using the selection tool ( V ) + alt then rotate it and resize it. Distribute it along the type on it's corners to give some fancy look.
Step 3
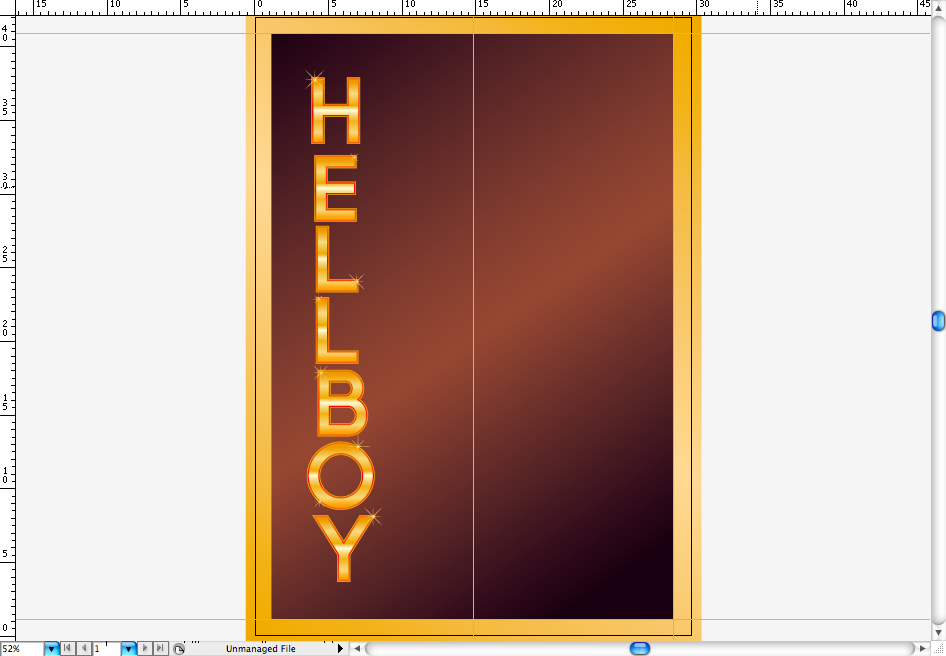
Well, let's skip to the illustration part, first of all, you should create 4 guides to help you don't exceed the area of the poster we're going to use. So create a new layer ( ctrl + L / command + L ) and create the 4 rules by using ctrl + R / command + R, pull the guides and posicionate like the sample bellow..
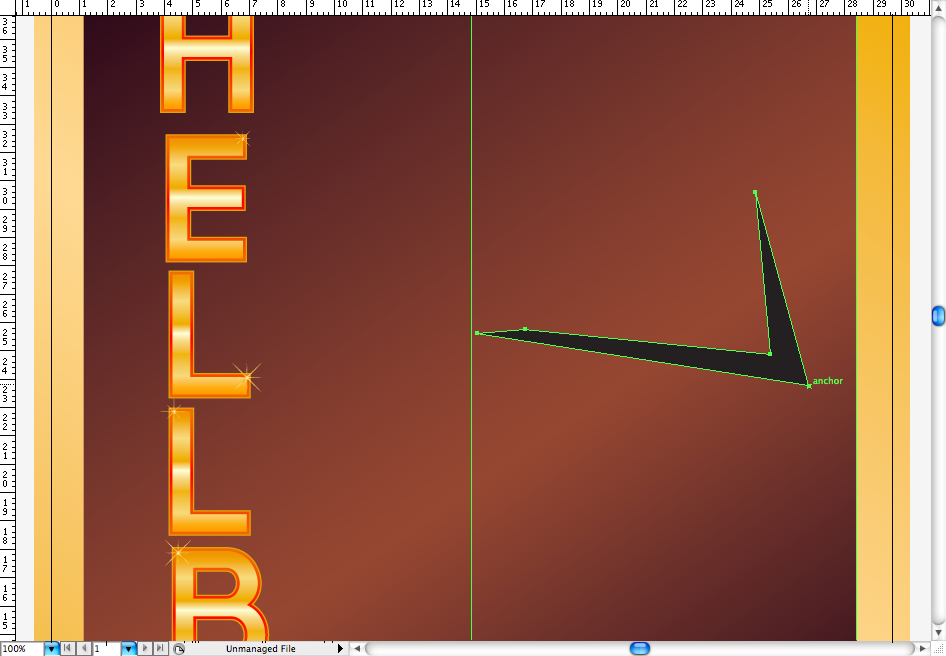
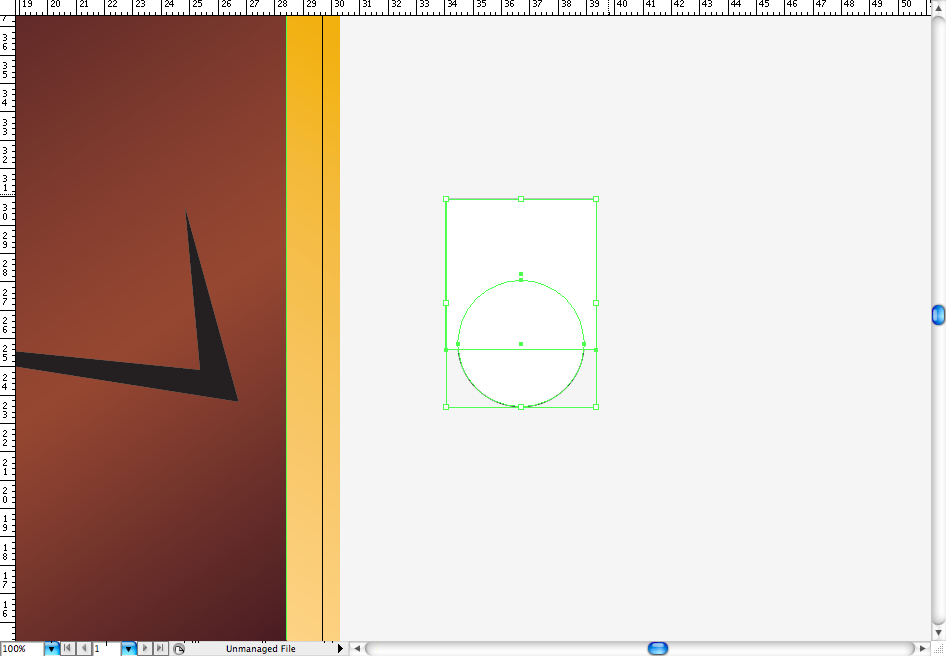
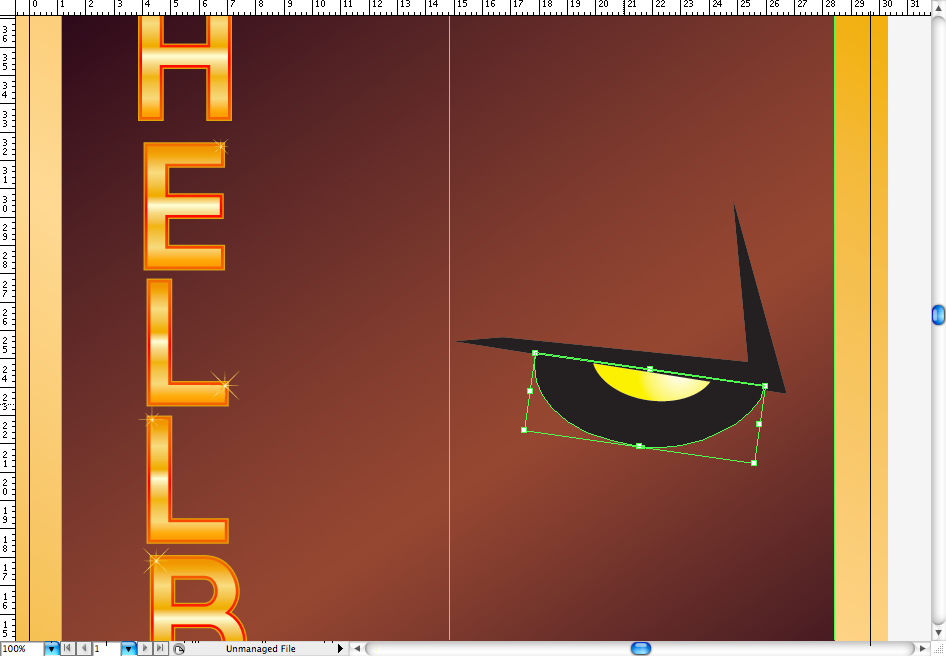
Let's begin with the eye, create this shape by using the pen tool ( P ) , it will be the eyebrown, than create a circle using the ellipse tool ( L ) and a rectangle using the retangle tool ( M ). Place the rectangle above the circle and align the bottom of it to the center of the half circle. Access the pathfinder panel and choose the option called minus front, this should create this half circle.

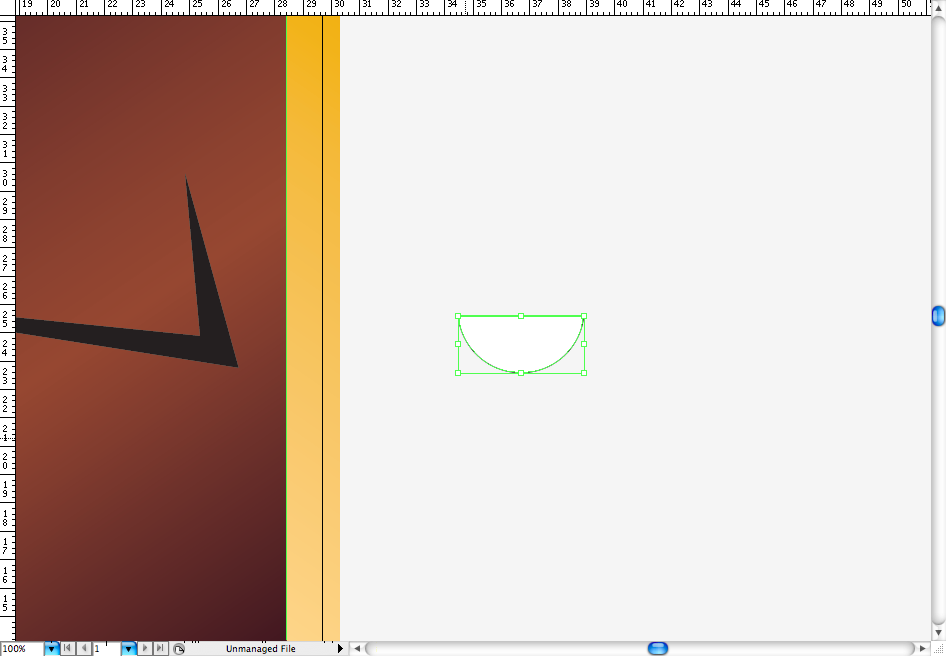
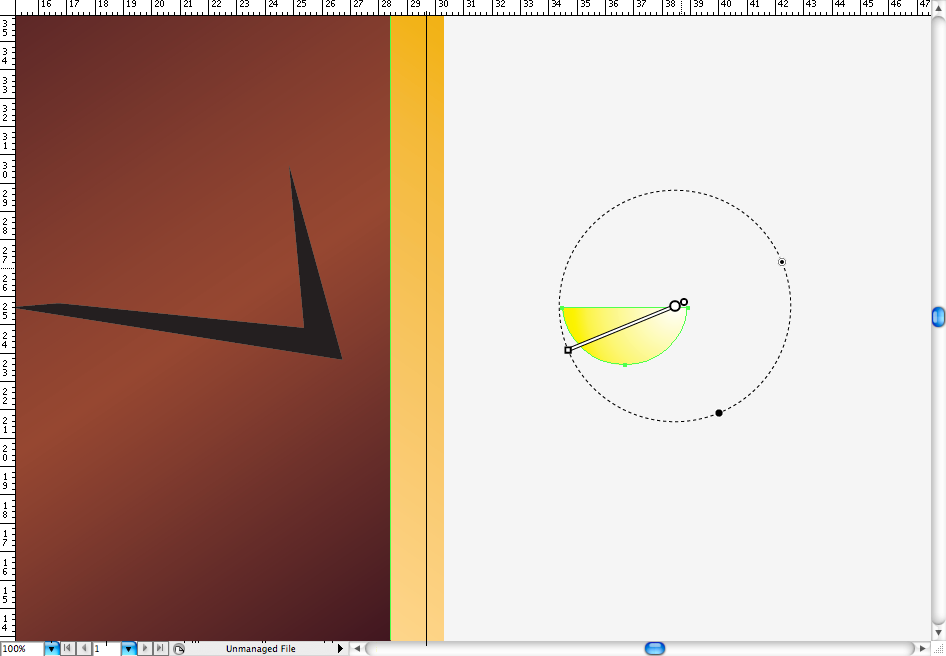
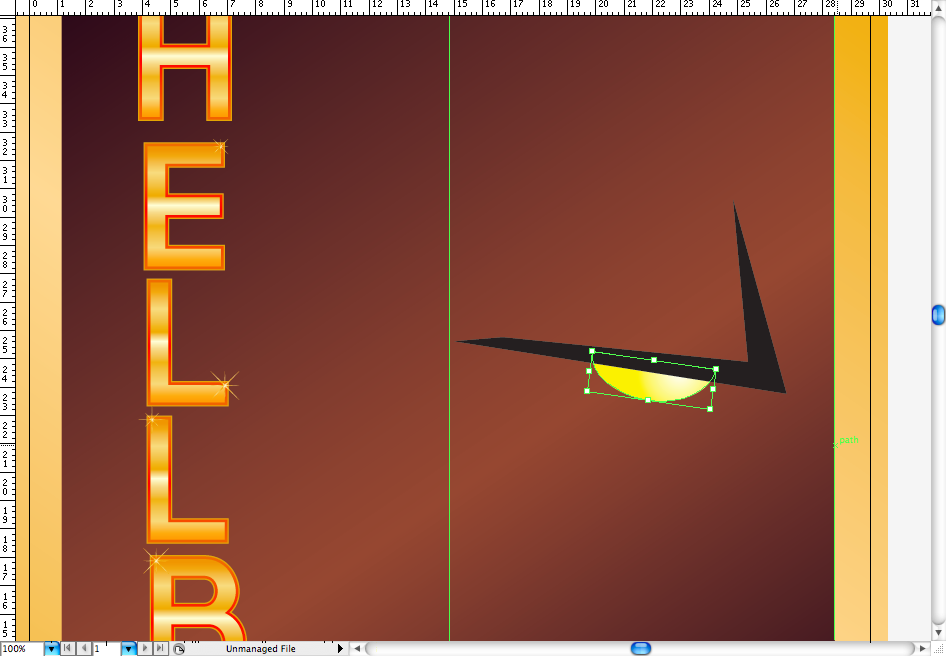
Usign the gradient tool ( G ) create a light yellow radial gradient on the half circle. Now posicionate it and resize it above the eyebrown in order to look like a eye. Duplicate the half circle using the selection tool ( V ) + alt , change it fill to black, send it to back and resize it and posicionate it till it loo like the sample bellow.
Step 4
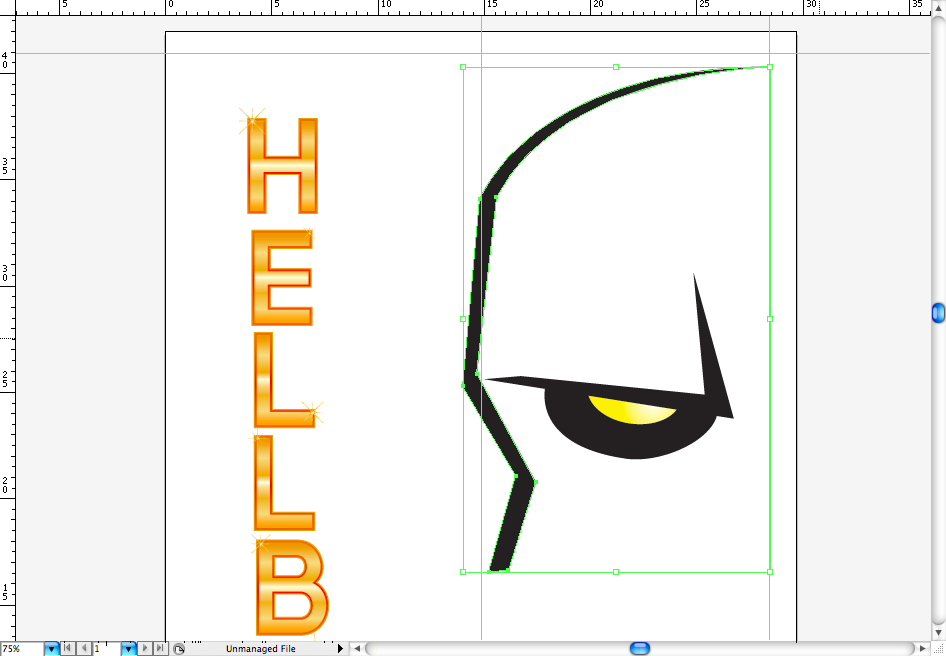
Now let's try to draw the rest of the face, first of all hide the two backgrounds, the white canvas is way better to work. Using the pen tool ( P ) create this shape that will be the top of hellboy's cranium. With you have a tablet you may find it more easier to do it with the brush tool, then just expand it and adjust to look like this, fell free to do the way you find more easier.
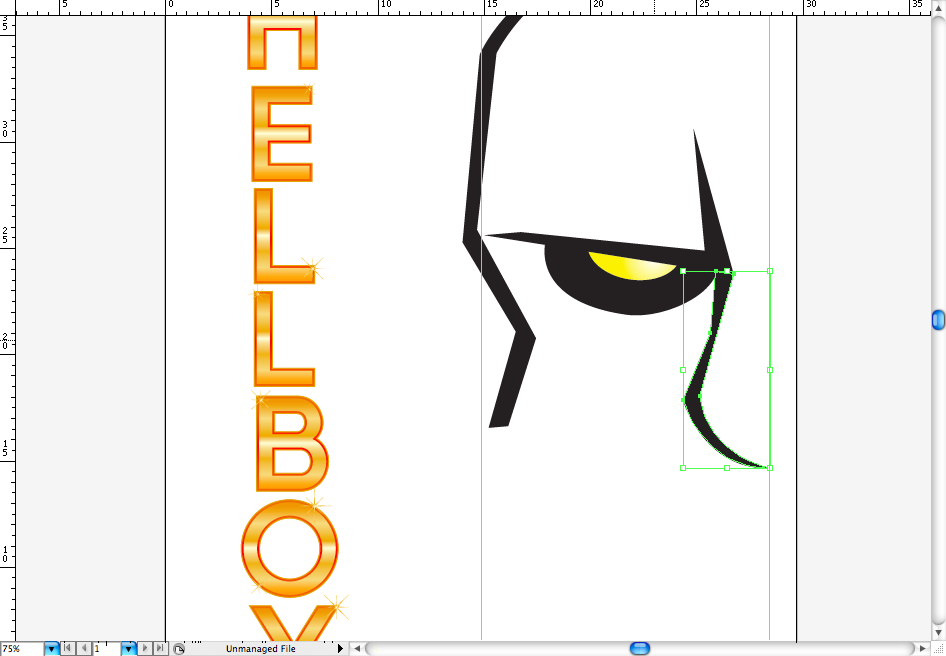
Repeat the same procedure, but draw it's nose this time.
Try to draw a big mouth like this to give it more like a gorilla look.
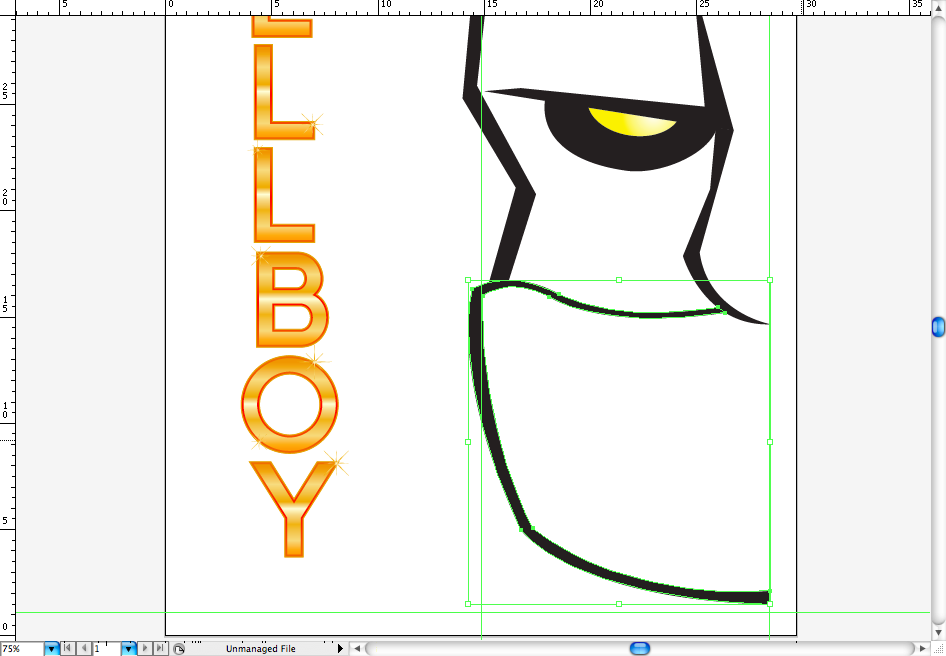
Finally draw it's ear, that sould be the easiest part, the basic part of the face it's now complete, let's skip to the details.
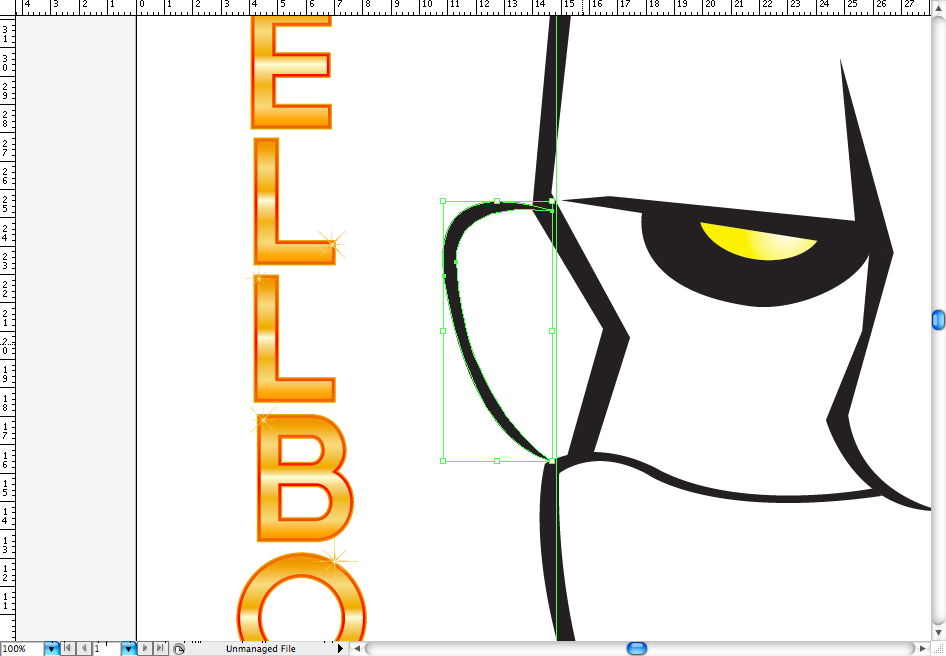
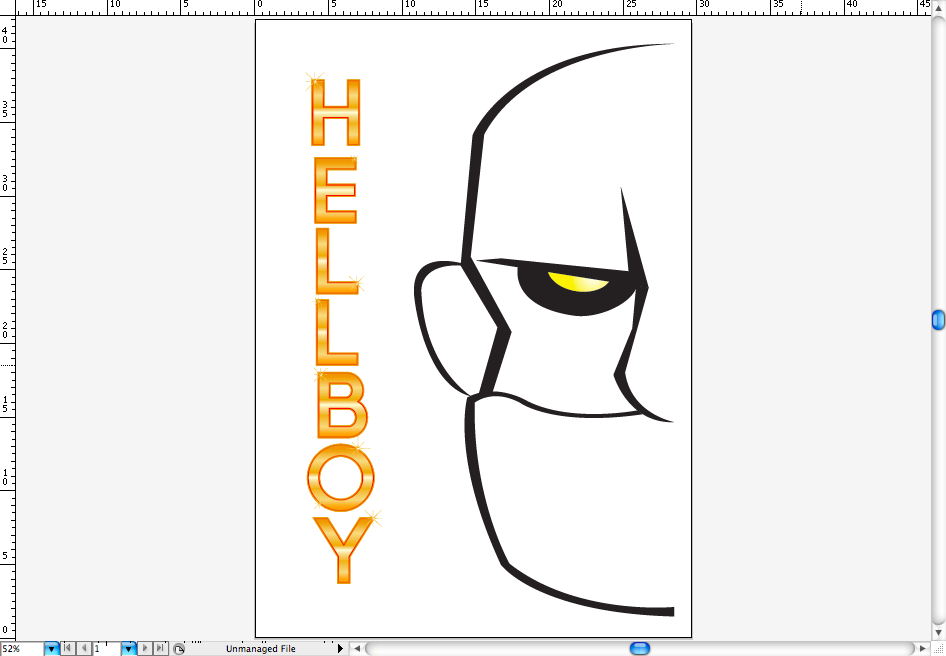
Step 5
Let's add some details to the face, using the pen tool ( P ) create simple shapes like this to look like wrinkles, create it above the nose, on the ear, above the eyebrown, bellow the eye and in the head side. This will give a more bad guy's look.
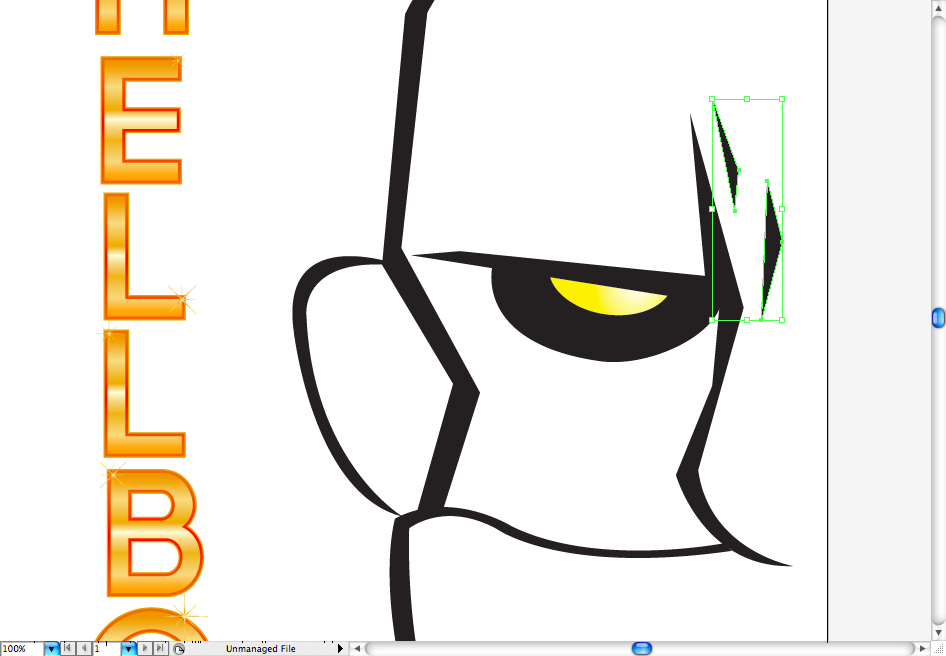
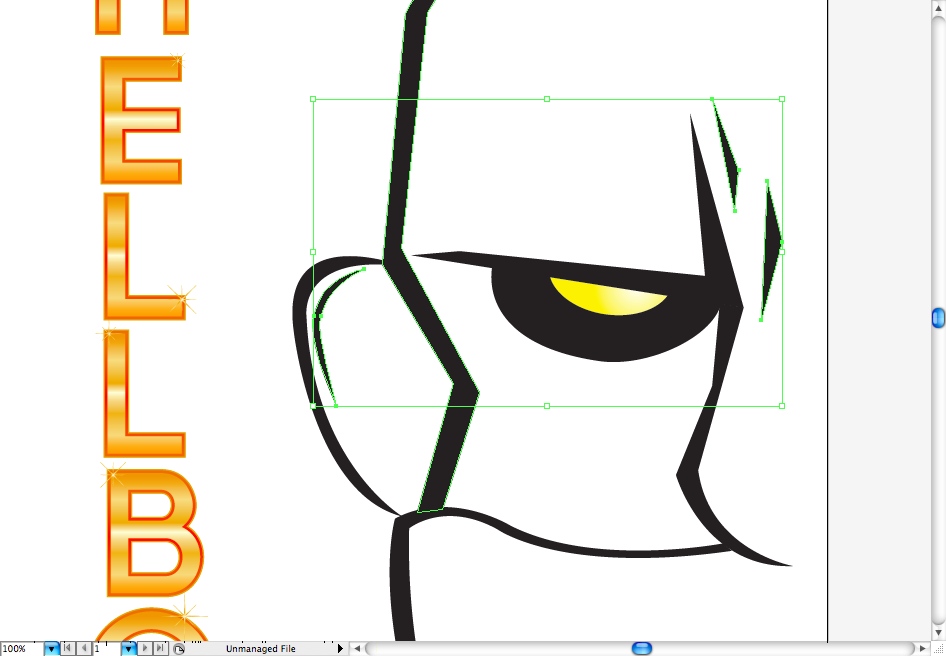
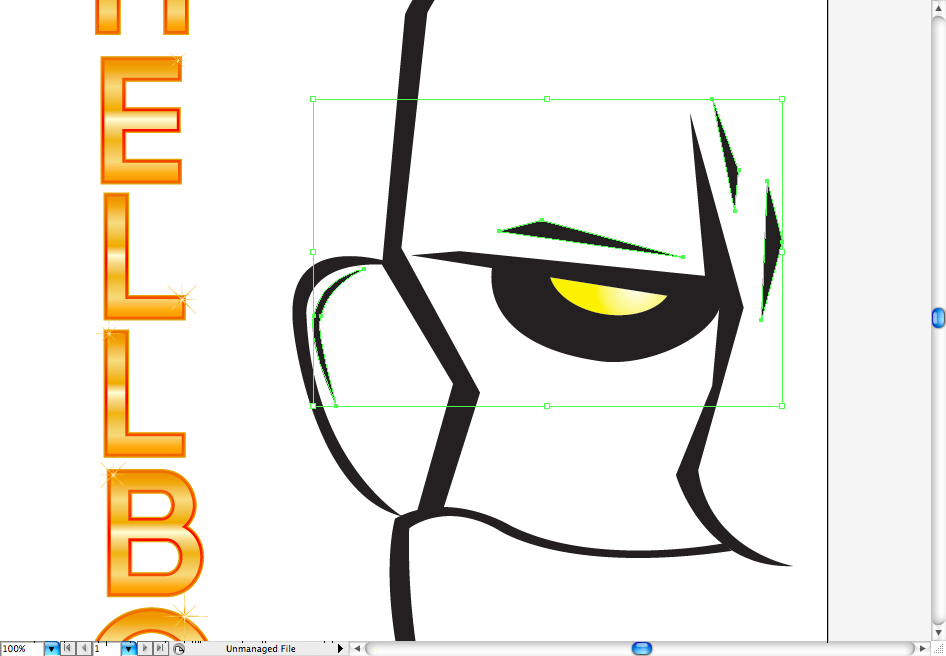
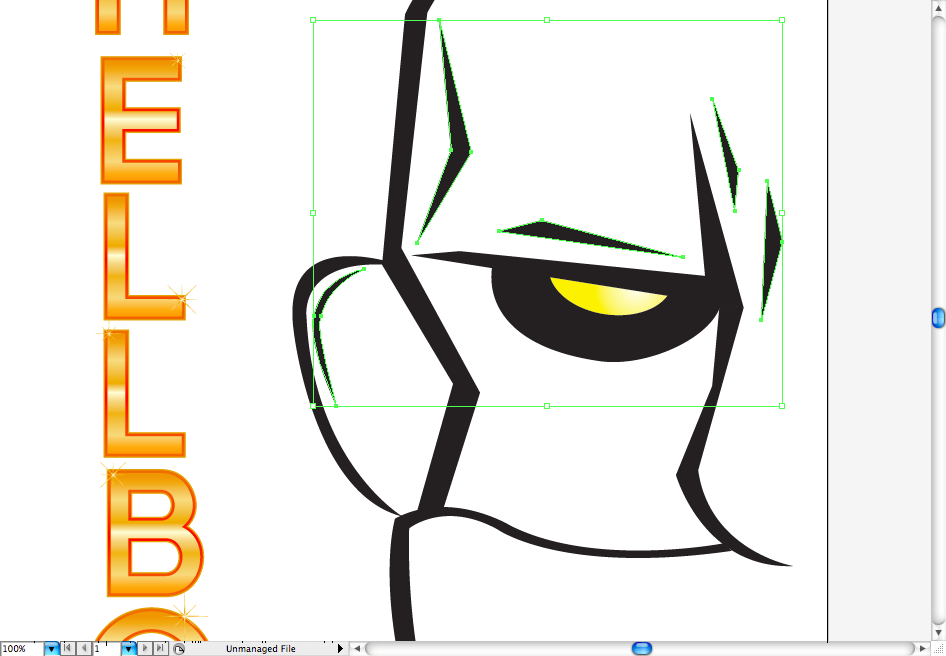
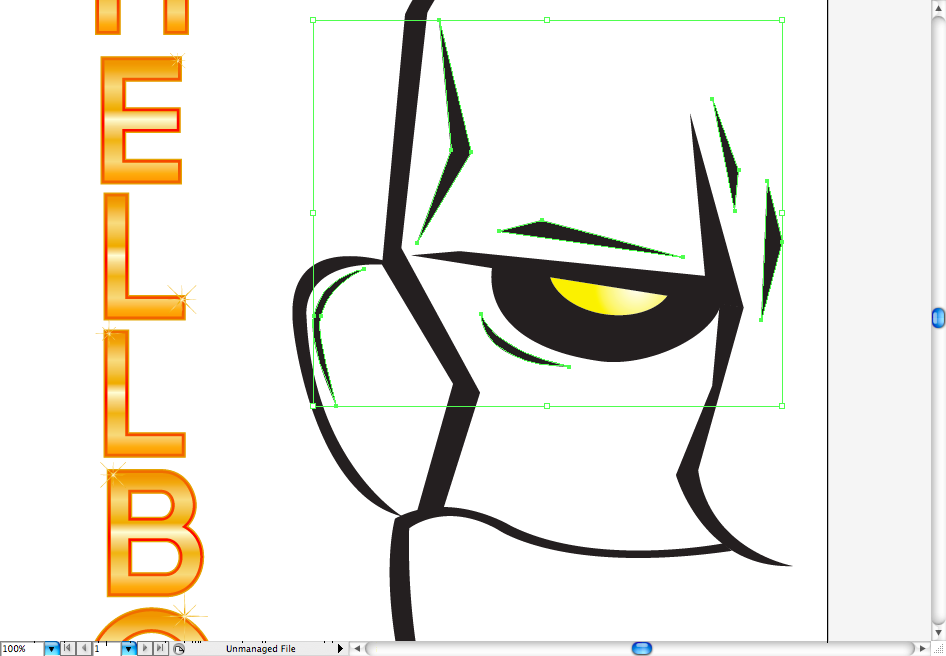
Here's a little trick I've learned watching Hydro 74 works: create a series of triangles and resize it, posicionate it to the part you wanna make the hachure and give more depth.
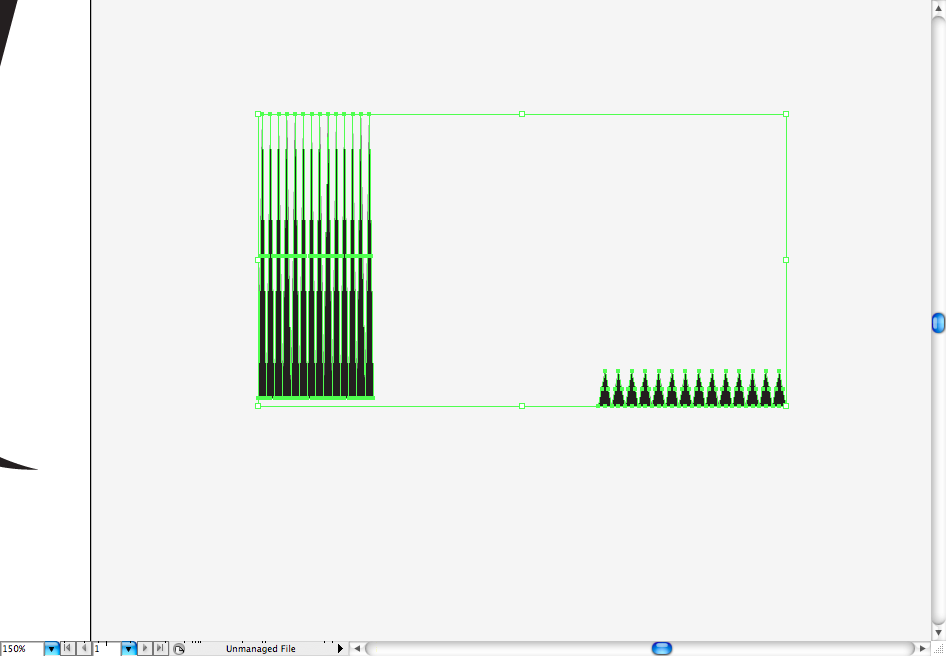
First add this hachure to the space between the eye and the nose, with a little help from the pen tool ( P )create a clipping mask ( ctrl + 7 / command + 7 ). Repeat the procedure on the wrinkle on the left side of the head.
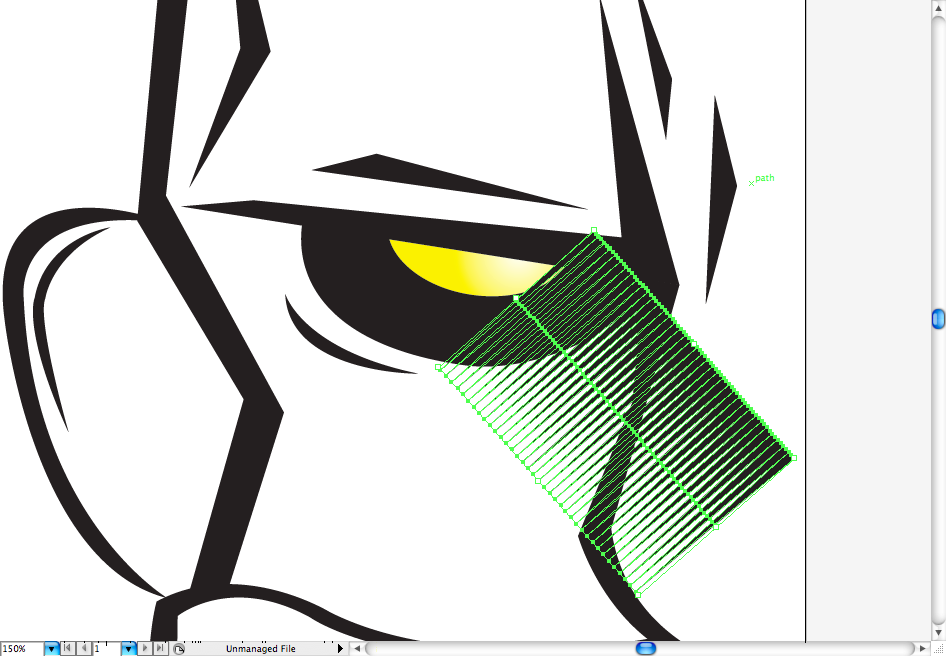
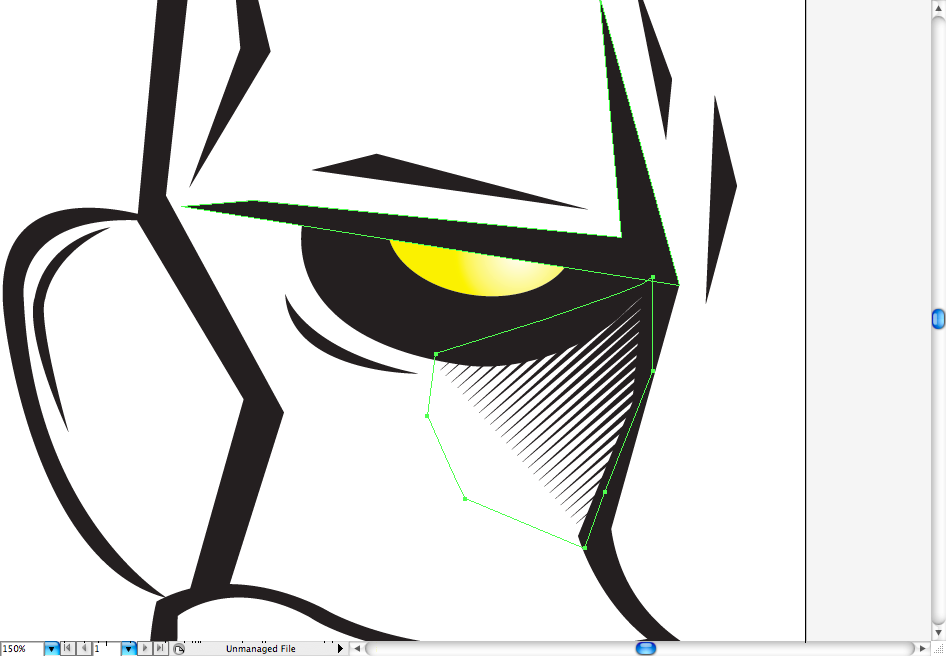
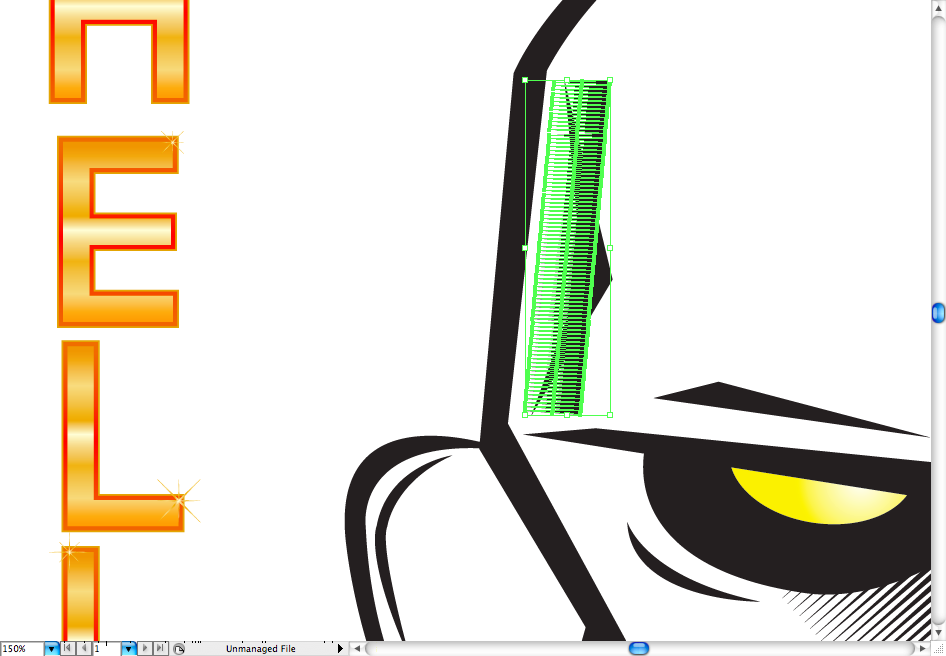
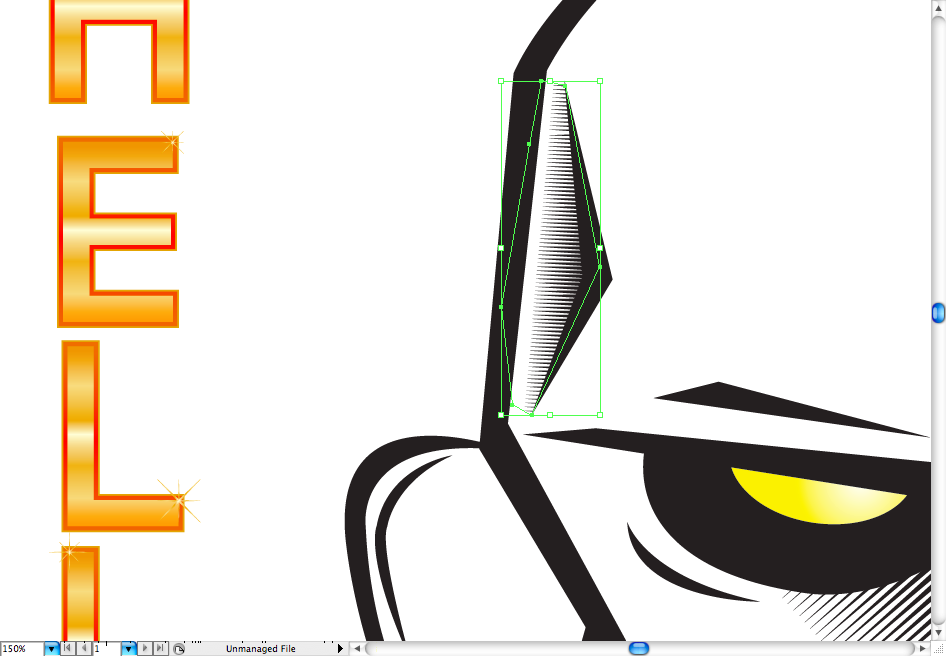
On eyebrown you won't need to do a clipping mask, but you will have to resize it. It also needs some fine adjustments that you will have to do manually, like the decrease of the triangles.
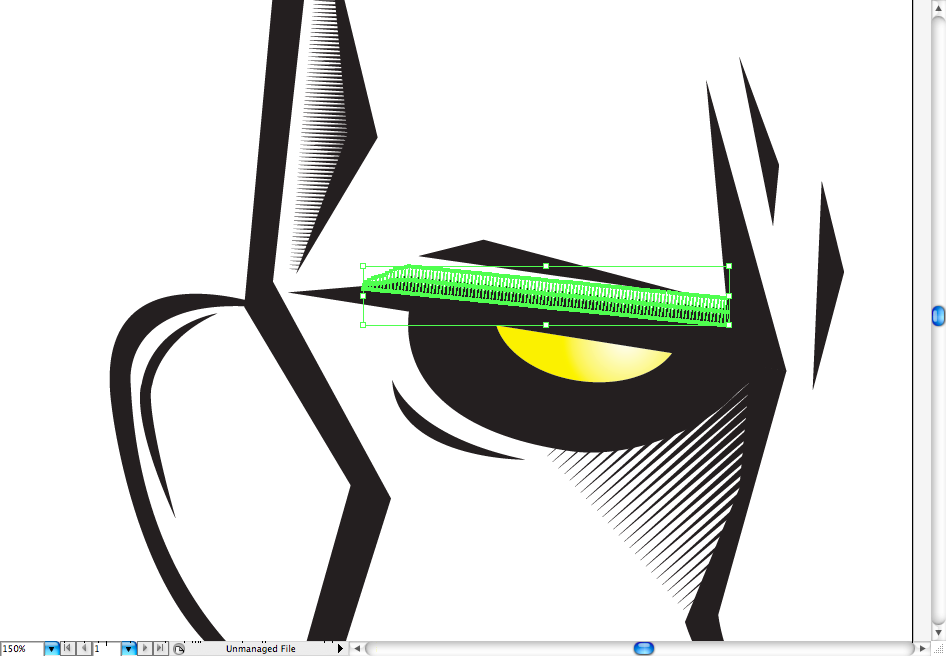
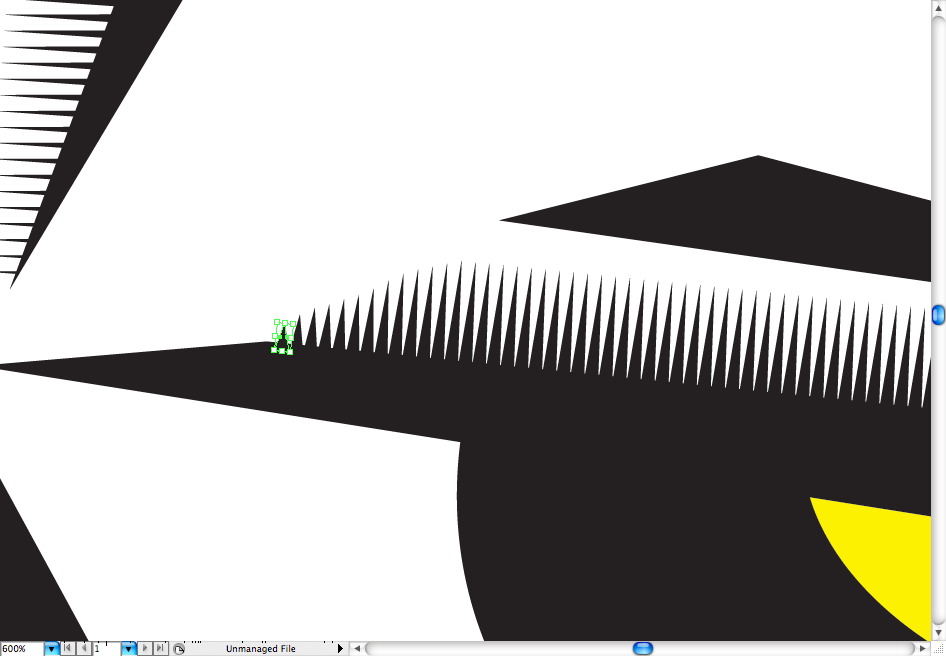
Make the wrinkles of the mouth by using the pen tool ( P ) and duplicating it with the selection tool ( V ) + alt . The final result should be something like these.
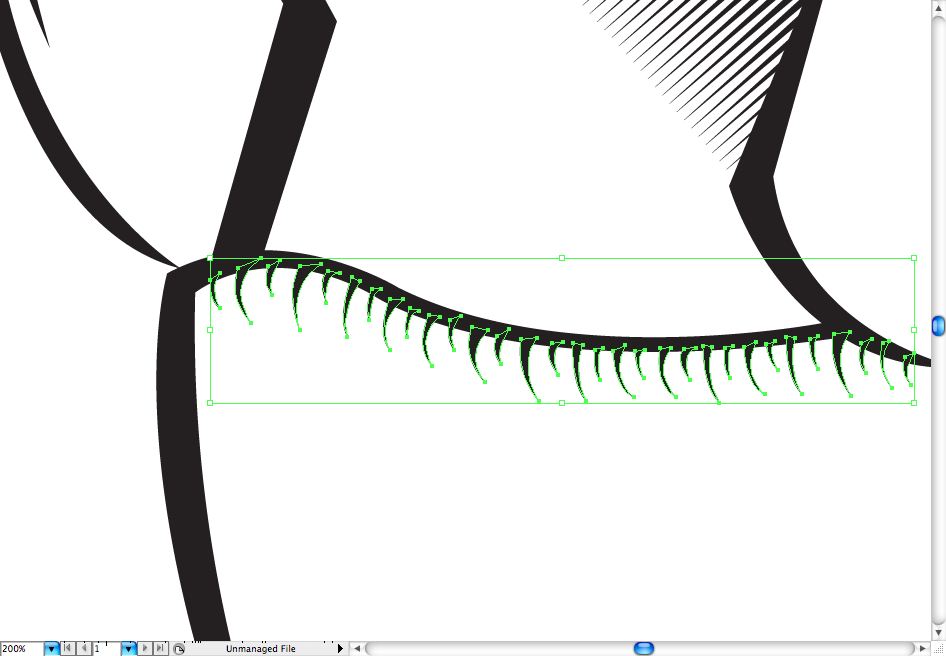
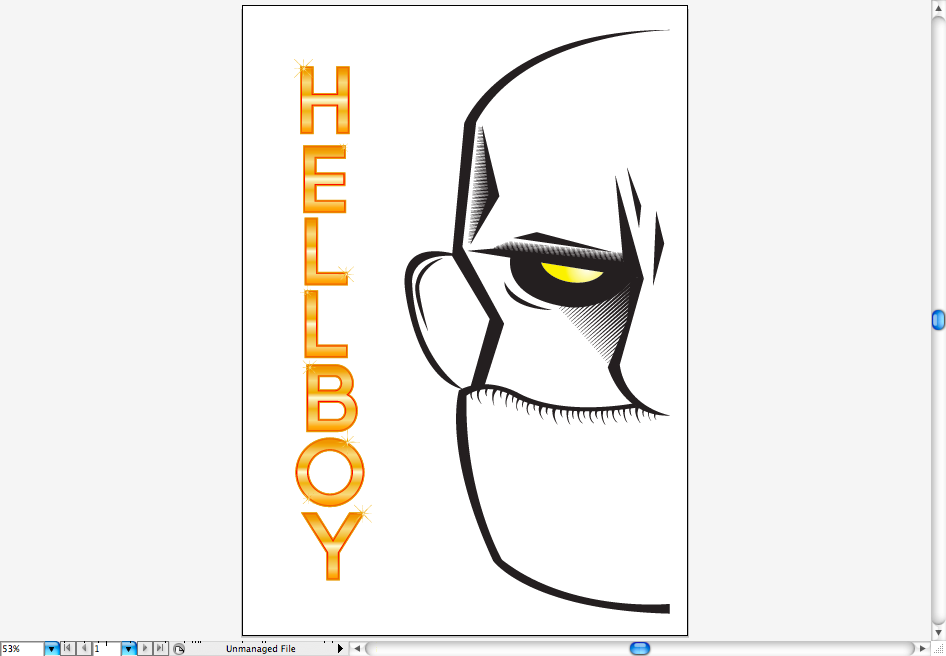
Step 6
This is probably the easiest step, using the pen tool ( P ) you're going to create a red fill around the head. Create a new layer ( ctrl + L / command + L ) and bring it to back, it's better to make the fill separated from the trace because when you need to texturize it will be a lot more easier as you going to see next.
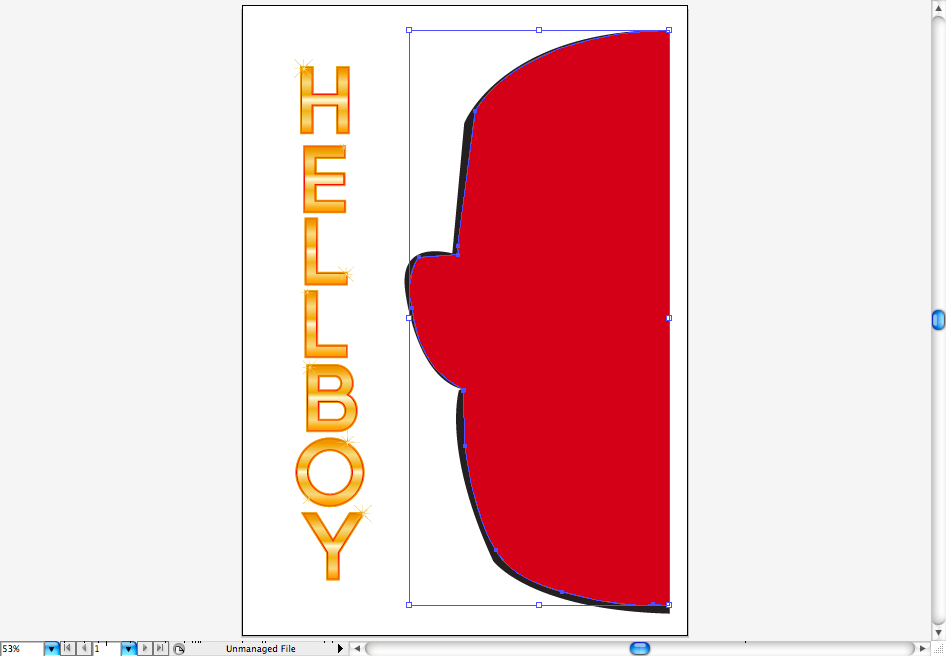
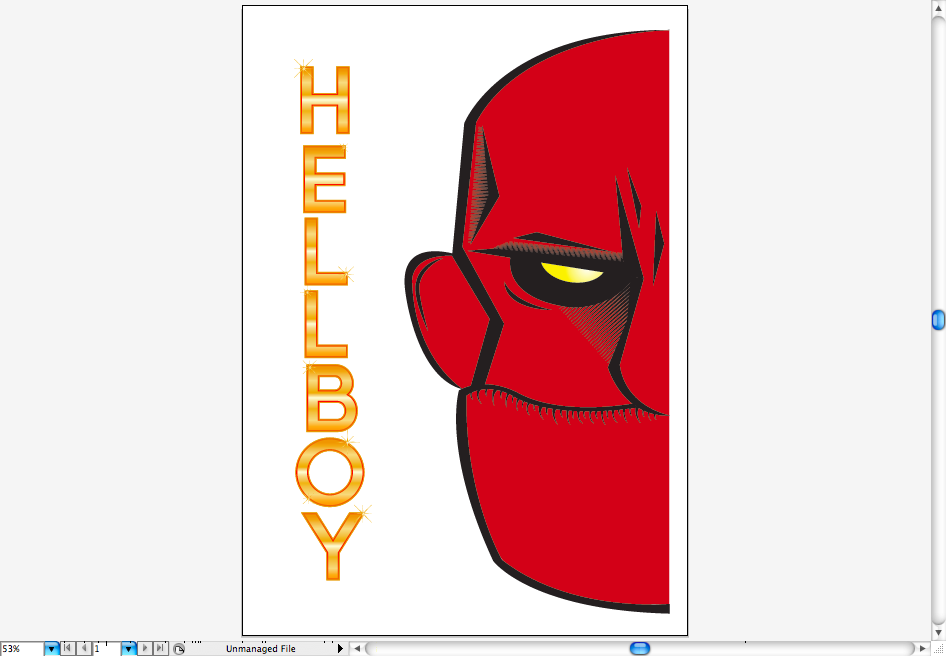
Step 7
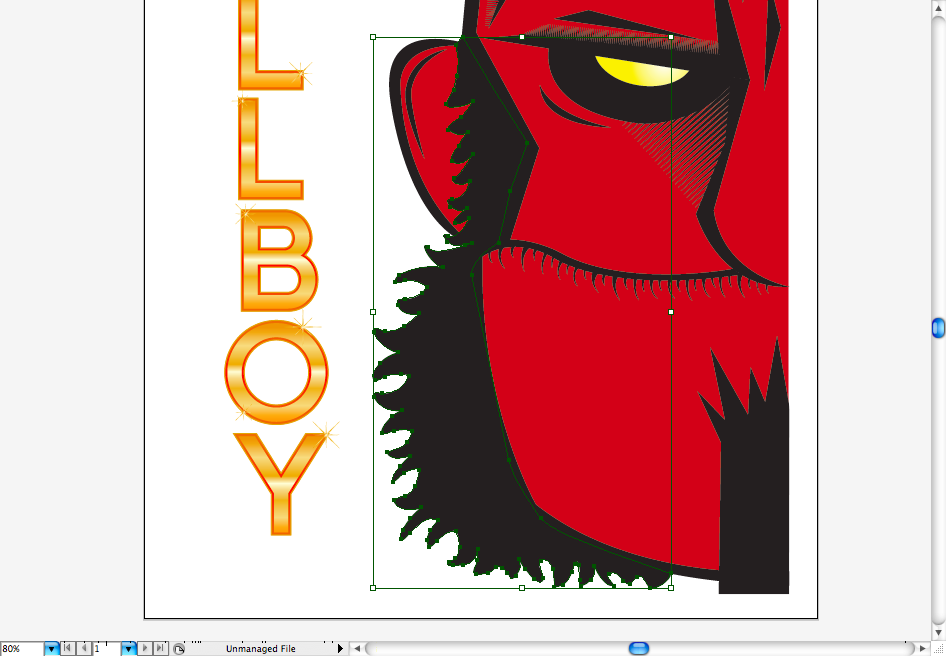
The Hellboy beard is really weird, as you can see here. First we're going to draw the goatee, pretty simple, just make a rectangle with the rectangle tool ( M ) and using the pen tool ( P ) add some triangles on it's top.
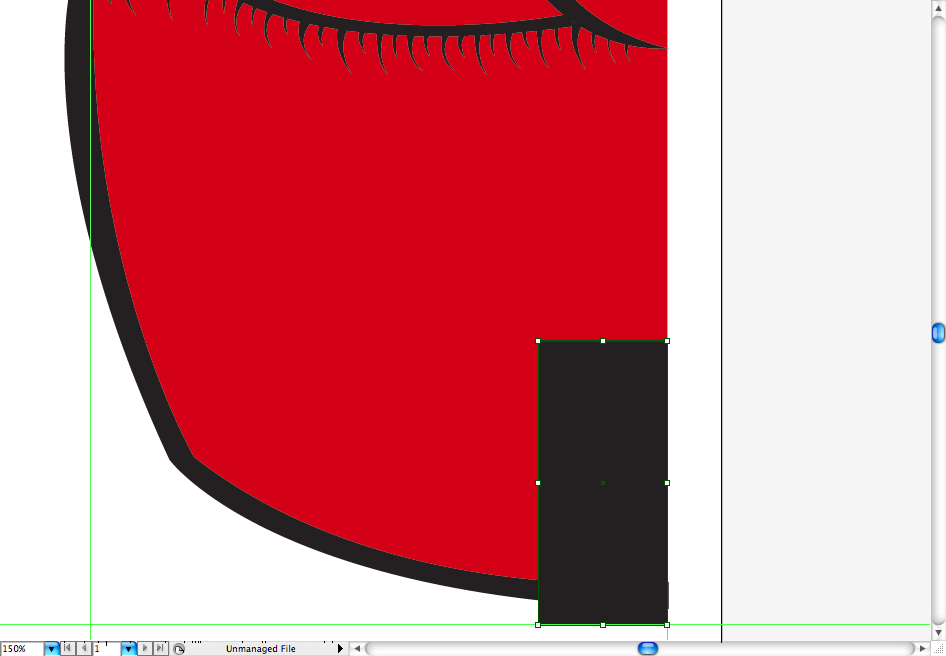
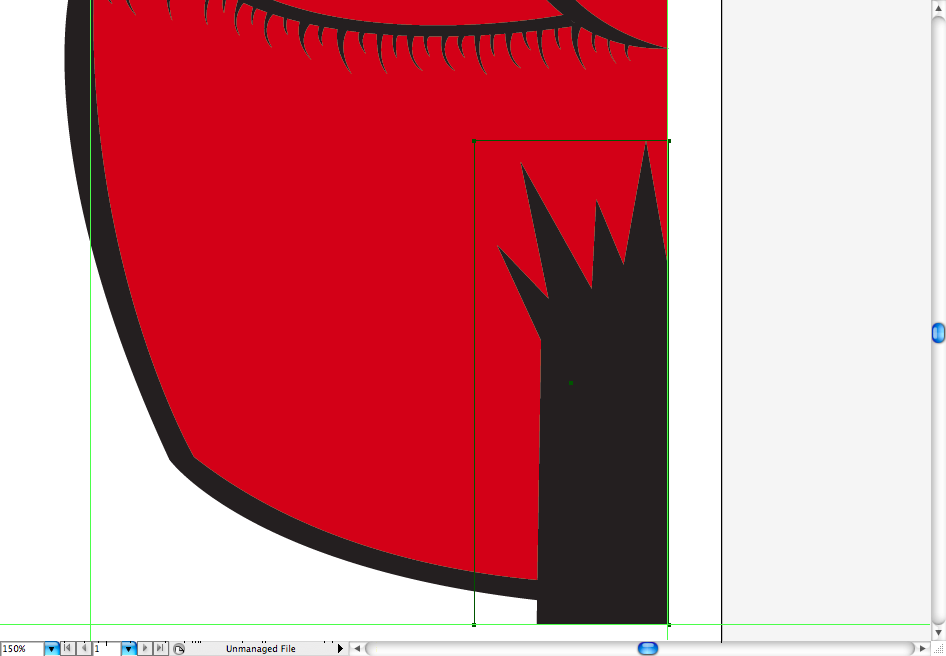
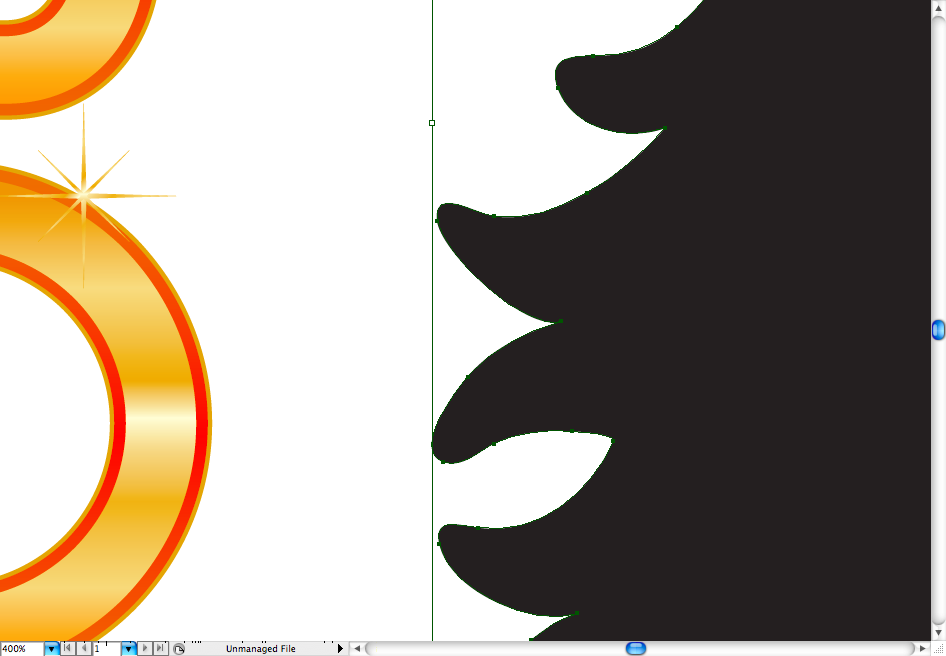
Unfortunately, there insn't another way to do the beard except by using the pen tool ( P ), after it use thesmooth tool on it, in order to look less sharpen.

Step 8
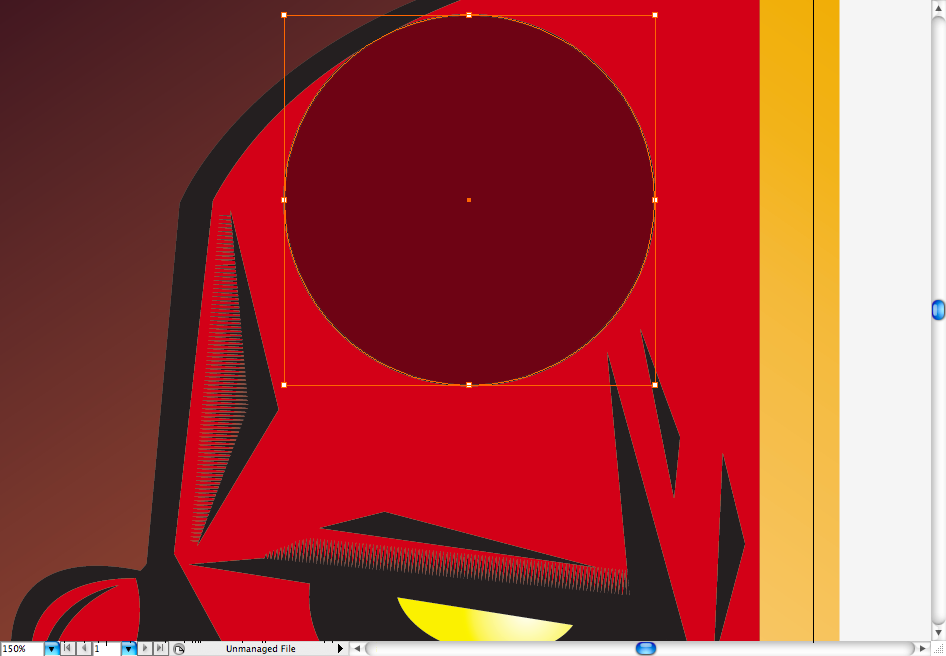
Hellboy just isn't Hellboy without his cutted horns, so let's draw it, now you can activate the background hidden layers. Create a circle using the ellipse tool ( L ), choose a dark red fill and then duplicate it using the selection tool ( V ) + alt , change the fill of this one to a light red gradient and place it above the darker one.
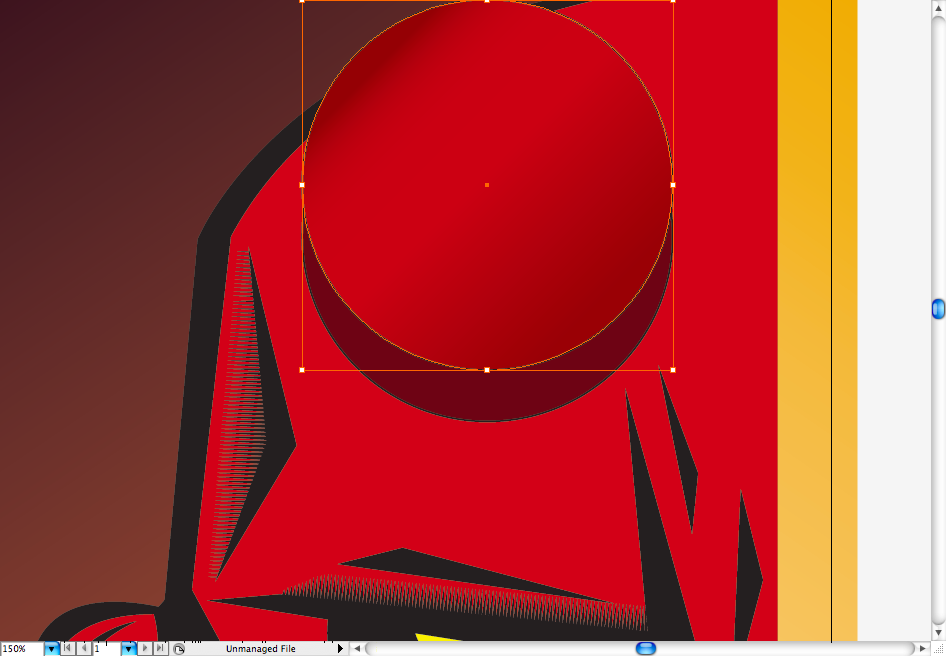
Usin the pen tool ( P ) create this lines to look more like the rest of the face trace.
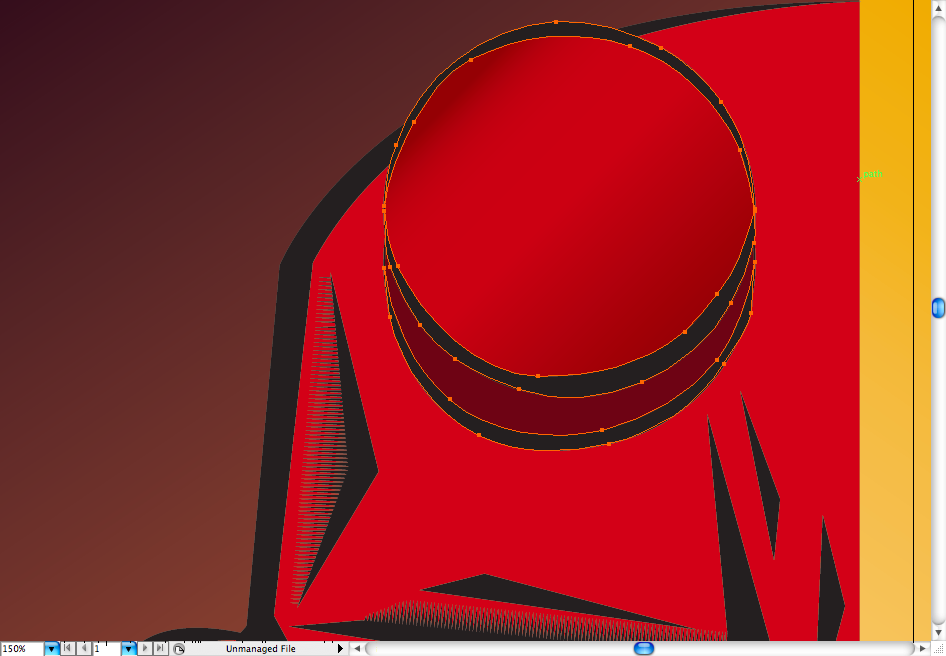
Using the brush tool ( B ) create these little lines to give a more solid aspect to the horns. Well, the main illustration it's done, in the next steps where going to texturize it.
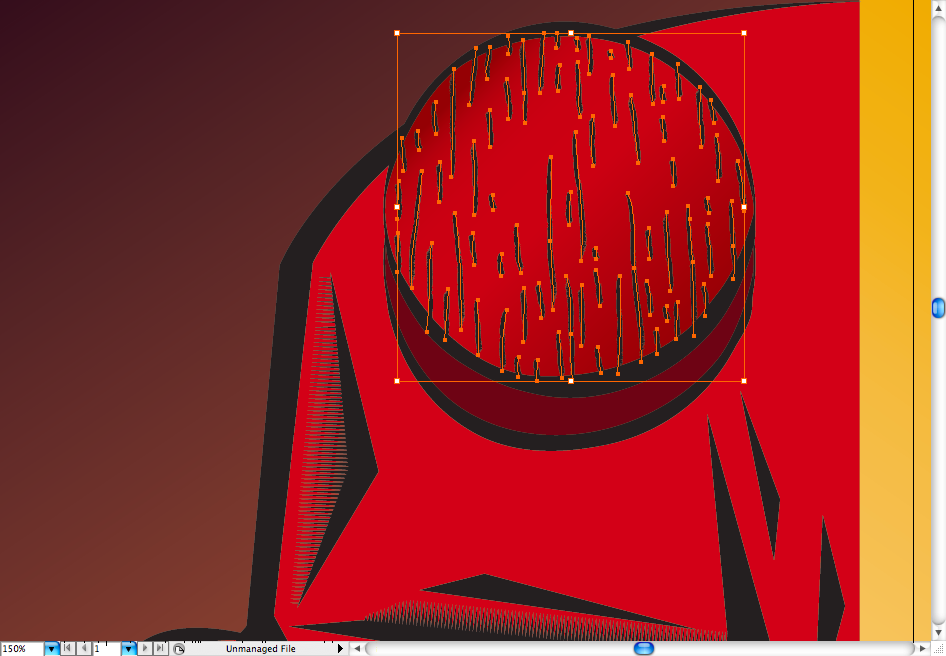
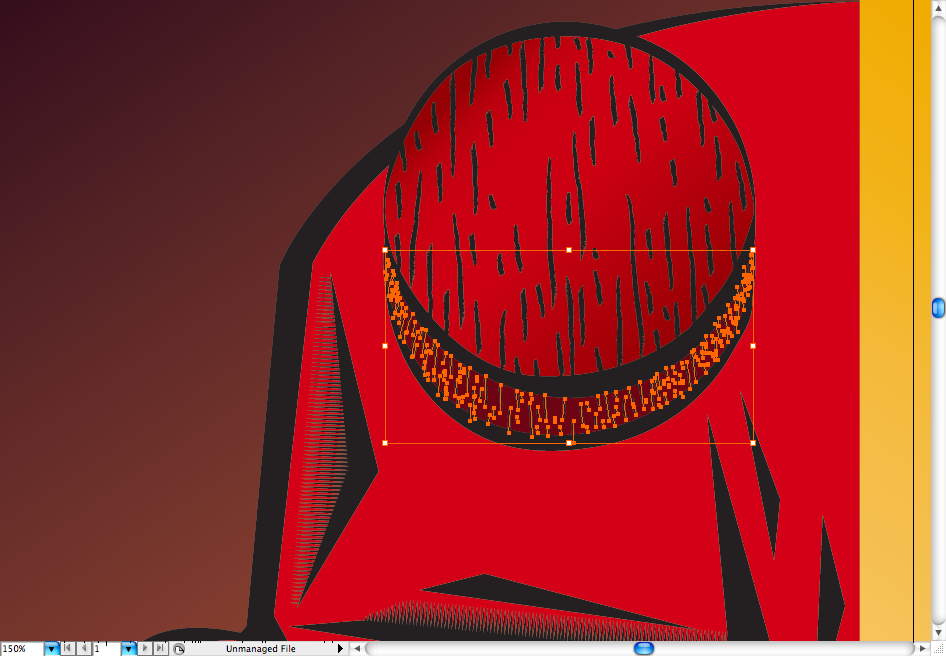
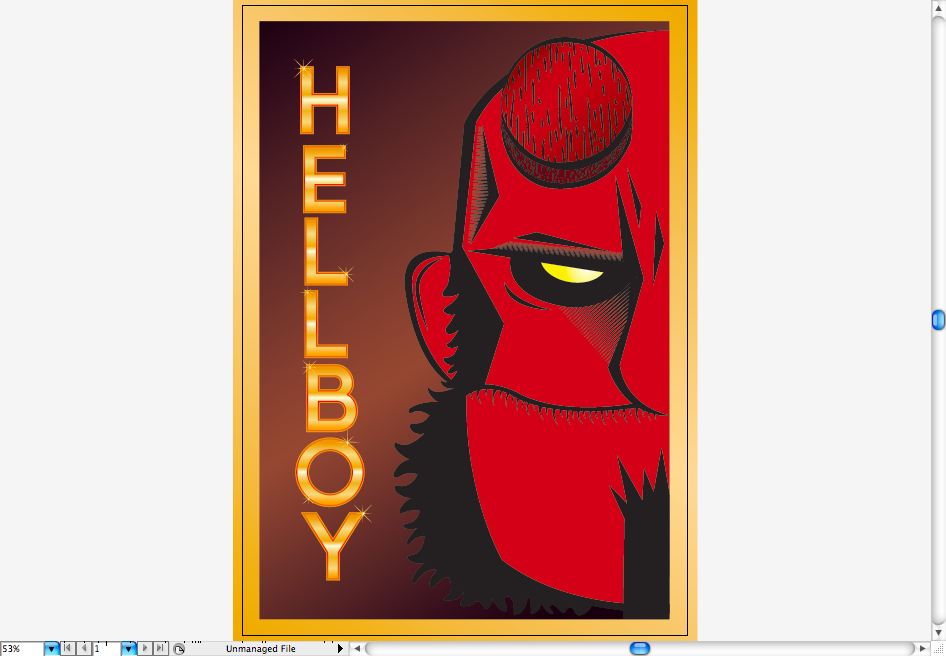
Step 9
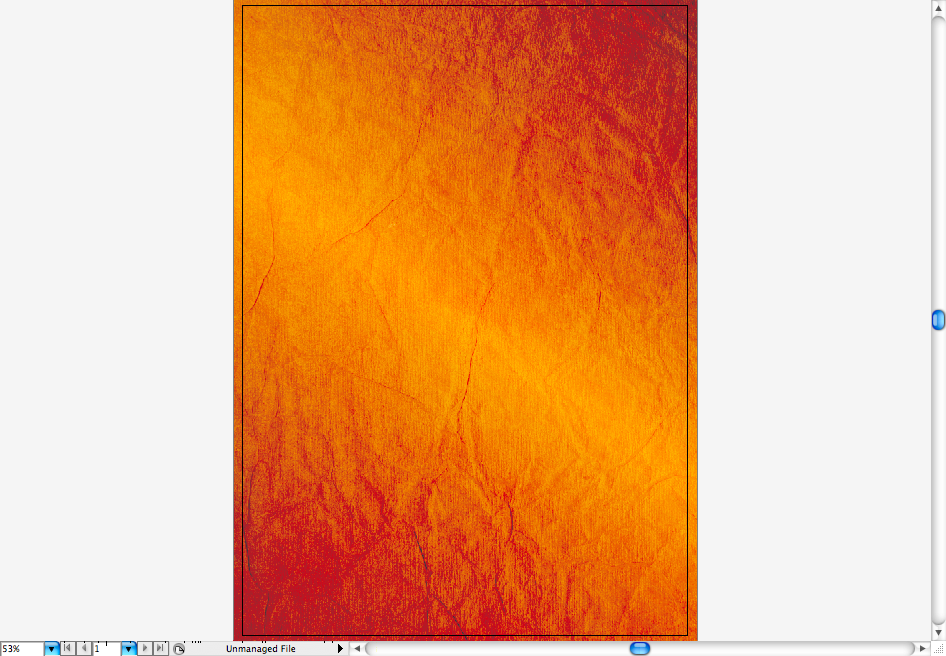
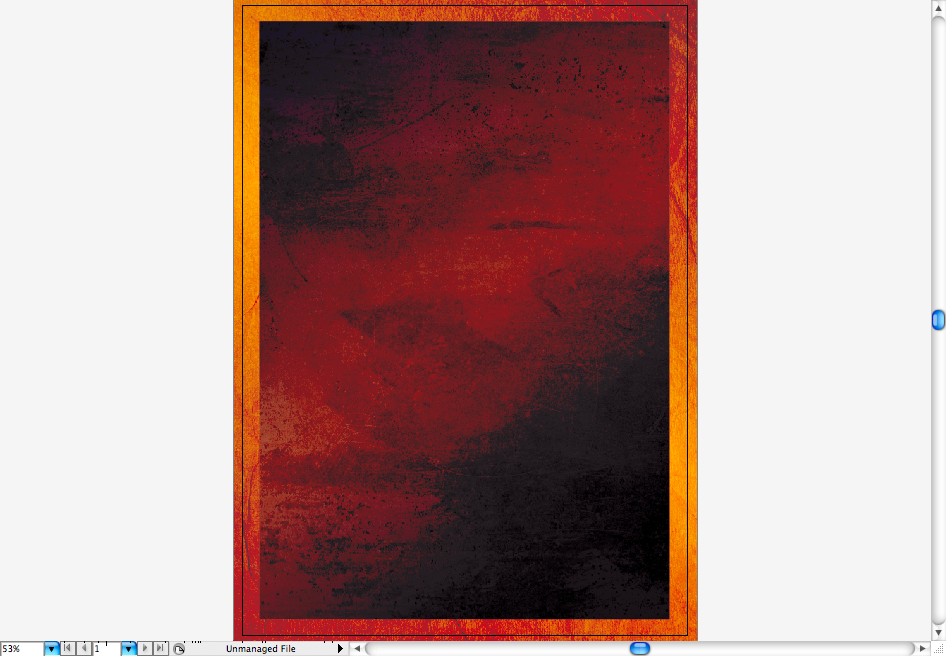
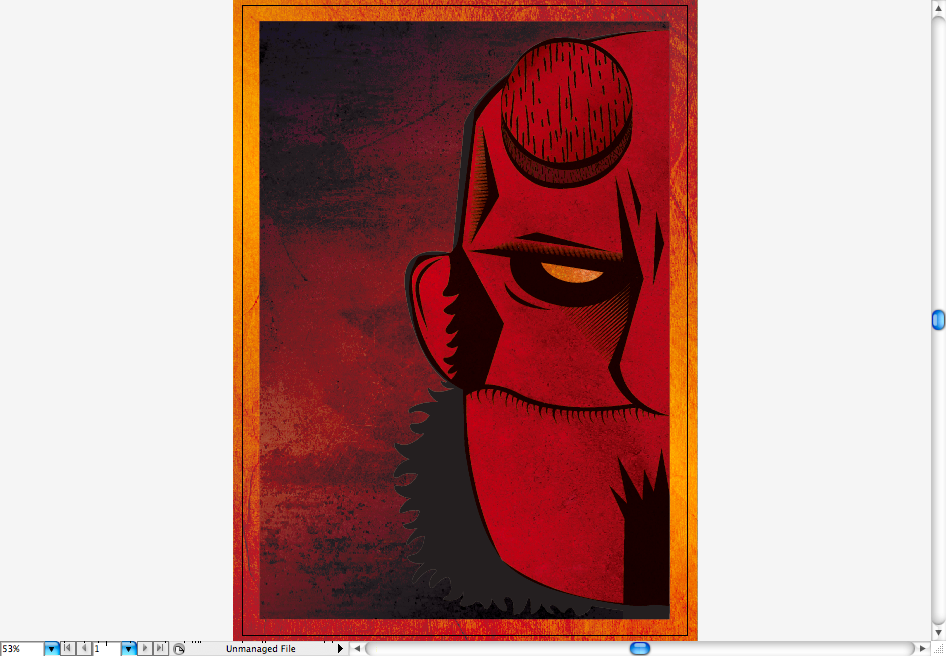
There's many ways to texturize this illustration, while doing some experiments I've found that is way better to texturize all the elements separated than just putting a texture above all the picture. You can find some realy cool texture here at Abduzeedo, on the Tuesday Total Texture pages. First texturize the gold background, then the brown background and make a clipping mask ( ctrl + 7 / command + 7 ) on a texture to fit only the Hellboy's face. I rather leave the text with no textures, but feel free to use with you want.
Layers Order

Step 10
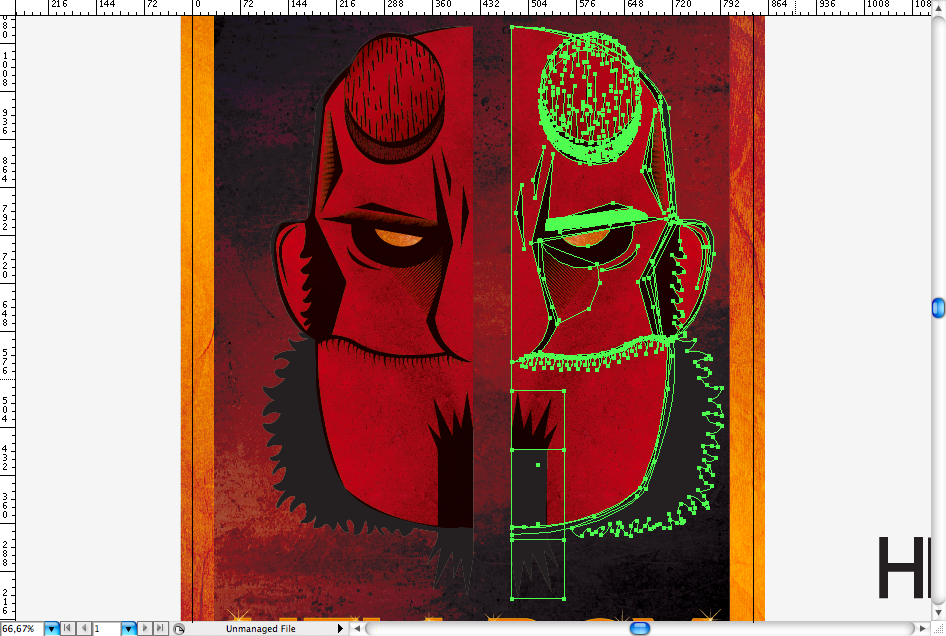
But with you're not happy with the final result yet, you can just do a little trick and copy the Hellboy's face and reflect it, then you should get this:
Final Conclusion
Hope you enjoyed this tutorial and learned some illustration tips guys, don't get worried with it don't get exactly as the original, try to do your own version too and experiment other ways to achieve the final result.
No comments:
Post a Comment